Build: 2017 Kawasaki KLR 650 for the Trans America Trail
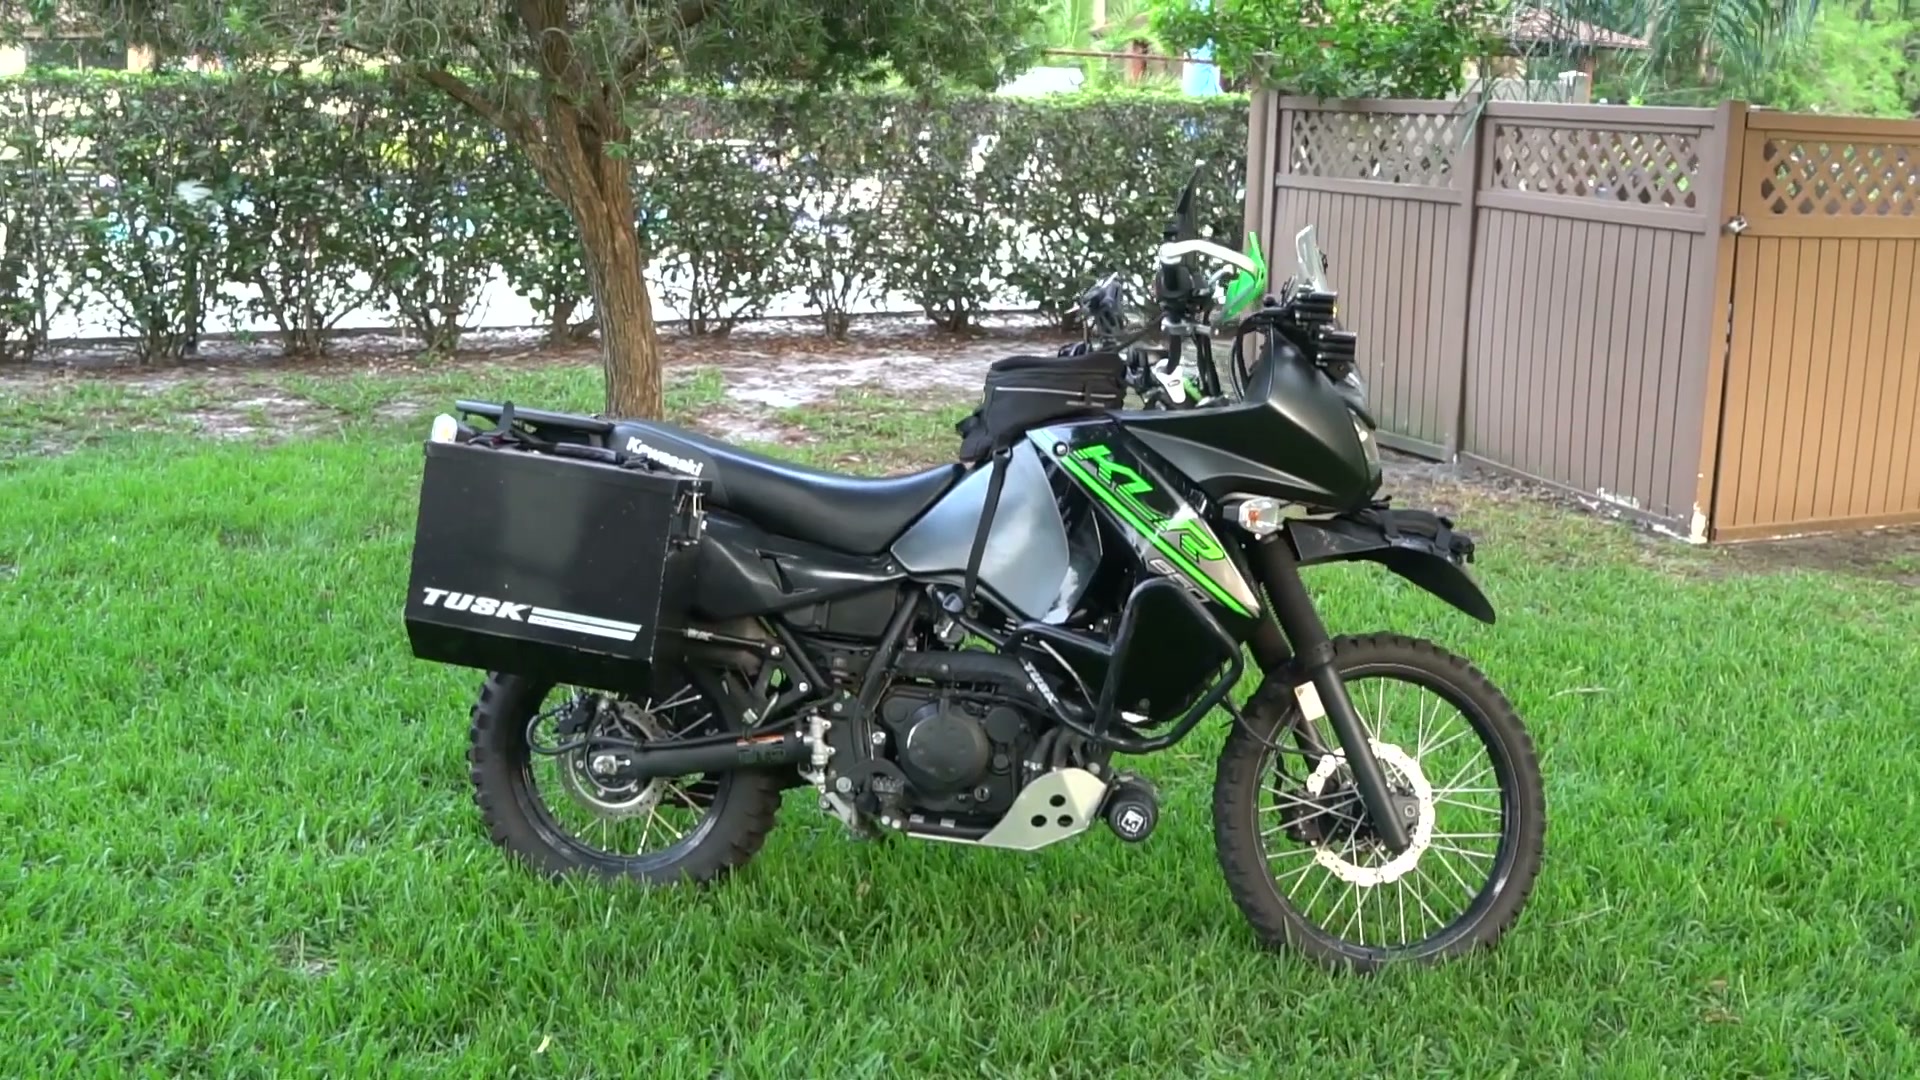
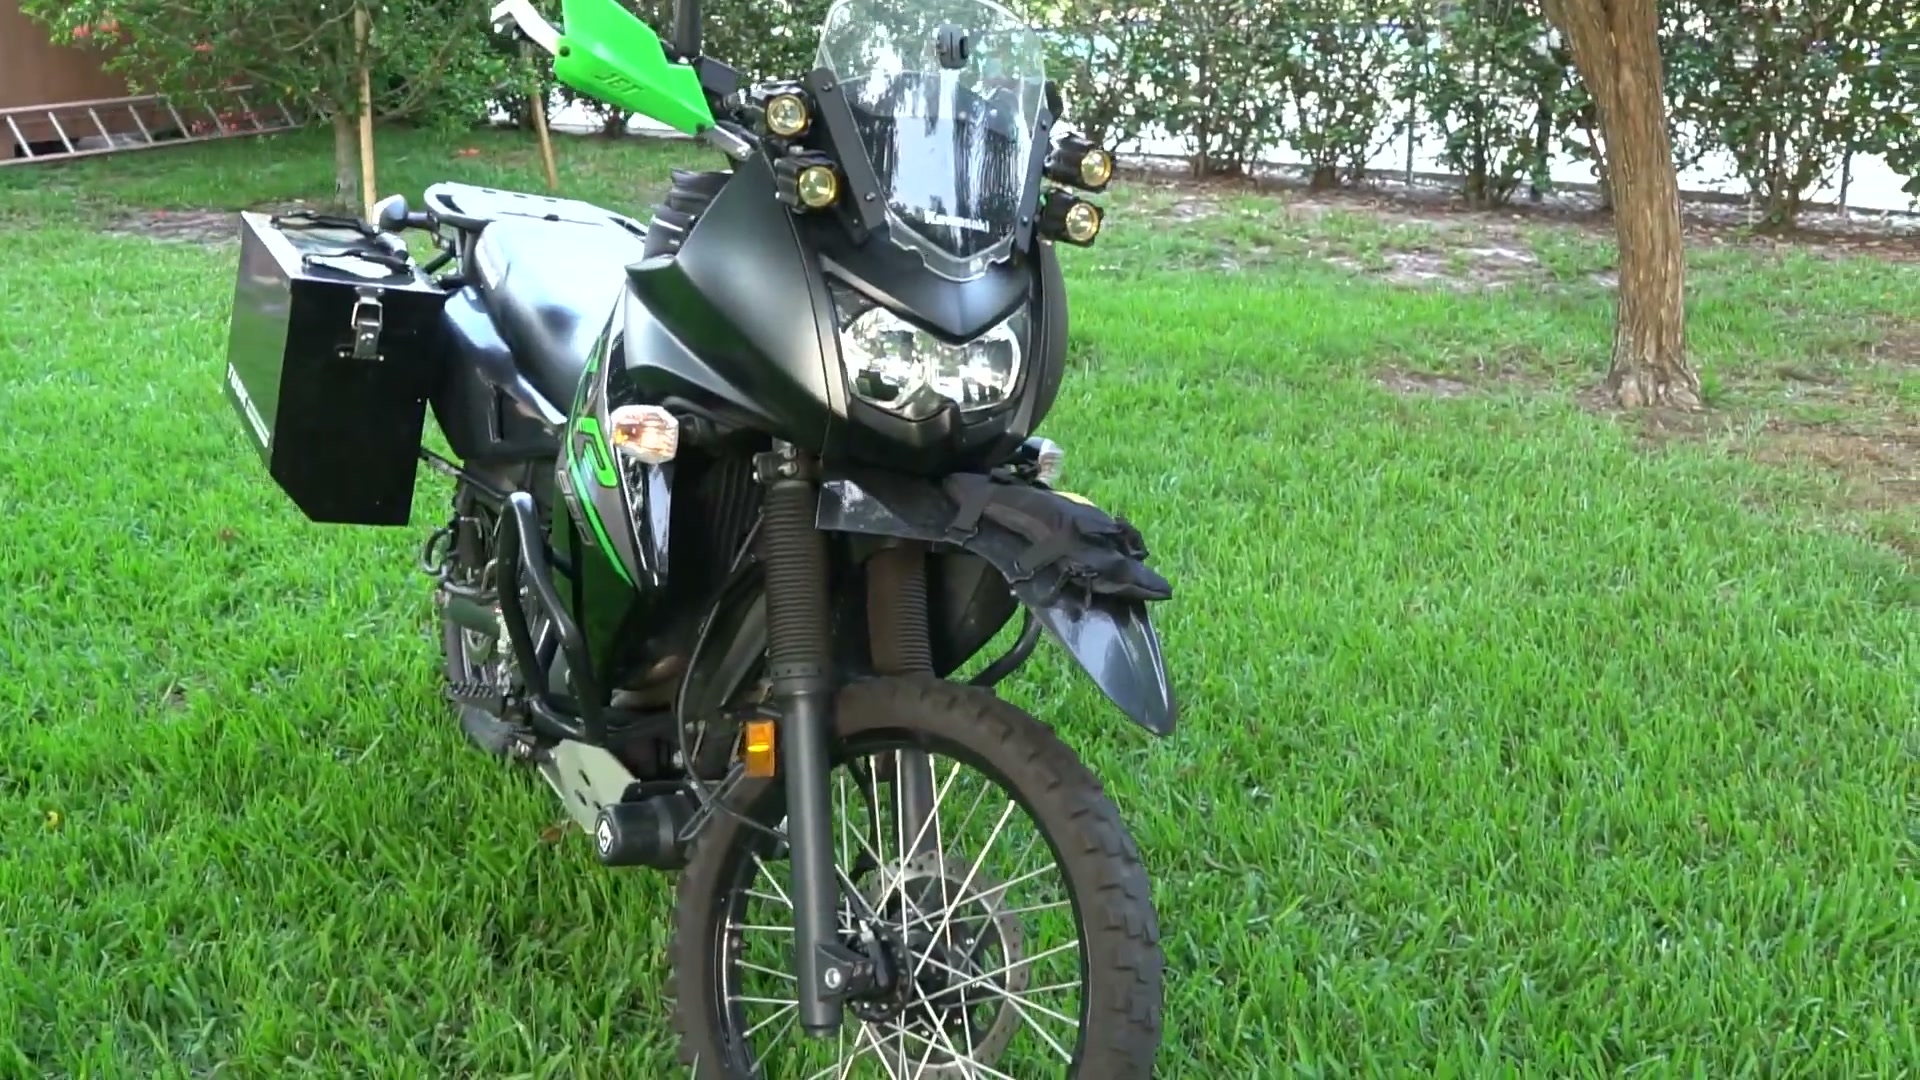
I built my 2017 Kawasaki KLR 650 from scratch for one job: the Trans America Trail. It carried me through the eastern section of the TAT and all the way home. In April 2020 I sold it, and before it left I finally did the walk-around I should have done years earlier. Every modification, what worked, what didn’t, and what I’d still change.
Every single part and every dollar I put into this bike is in my build spreadsheet on the Trans America Trail costs and fees post, so you can get the exact models and prices there.
Lights and the KLR Dash
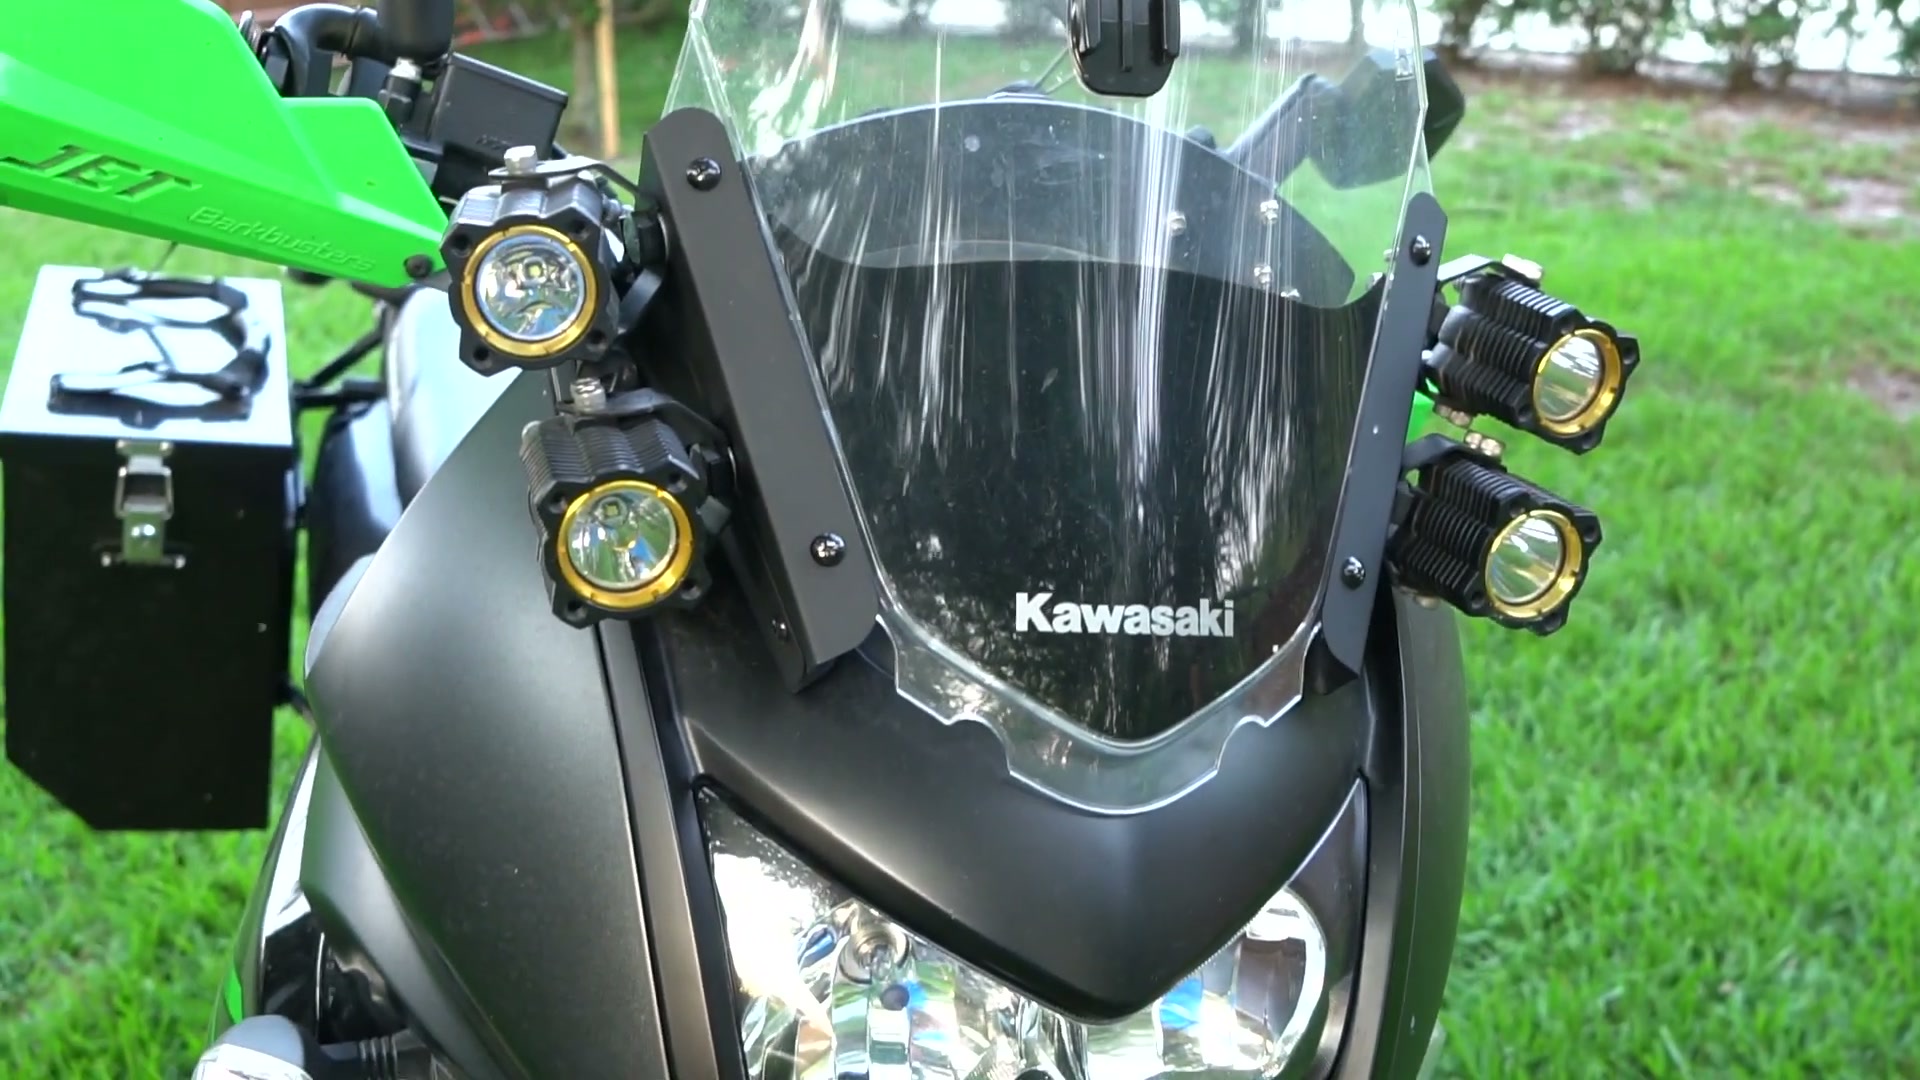
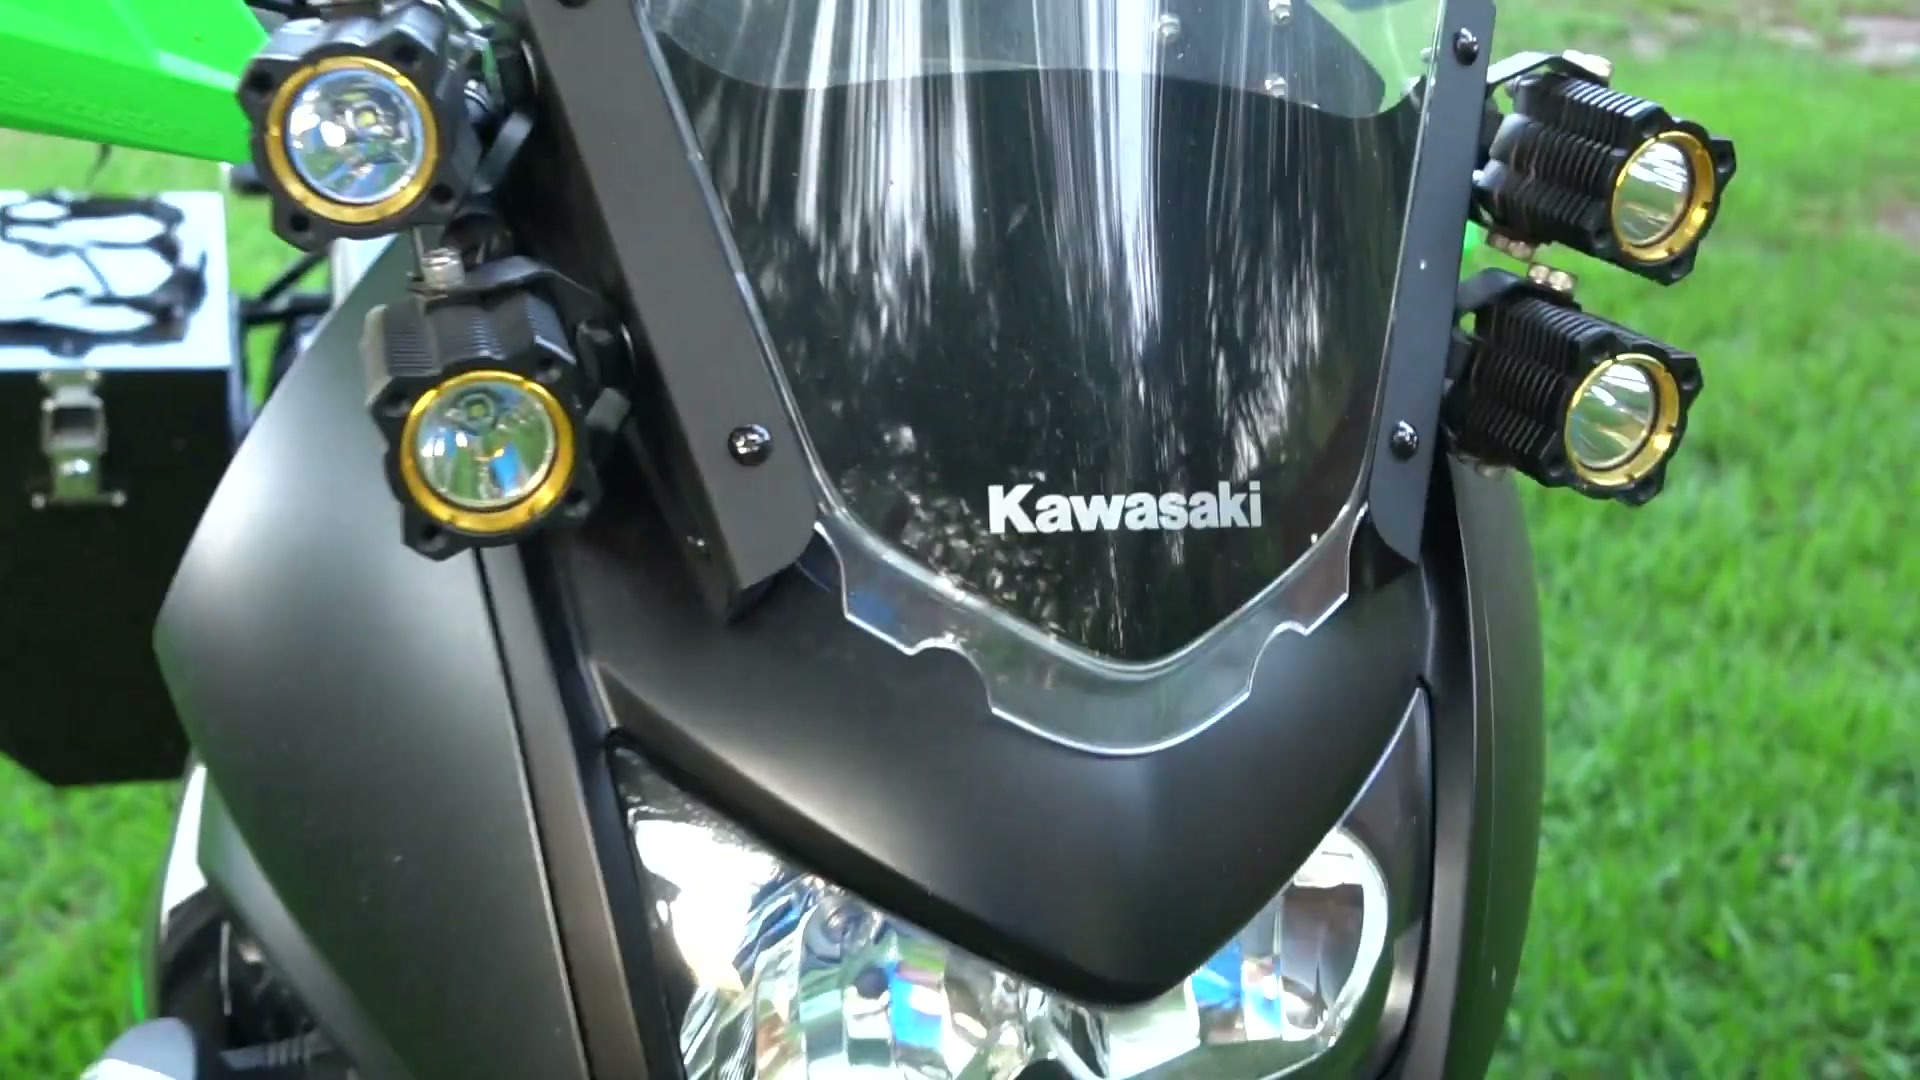
The best thing I ever did for lighting was four KC lights, two spot and two flood. I ran the switches right on the dash. They light up the trail way down the road, and set up right, they light up your peripheral vision too.
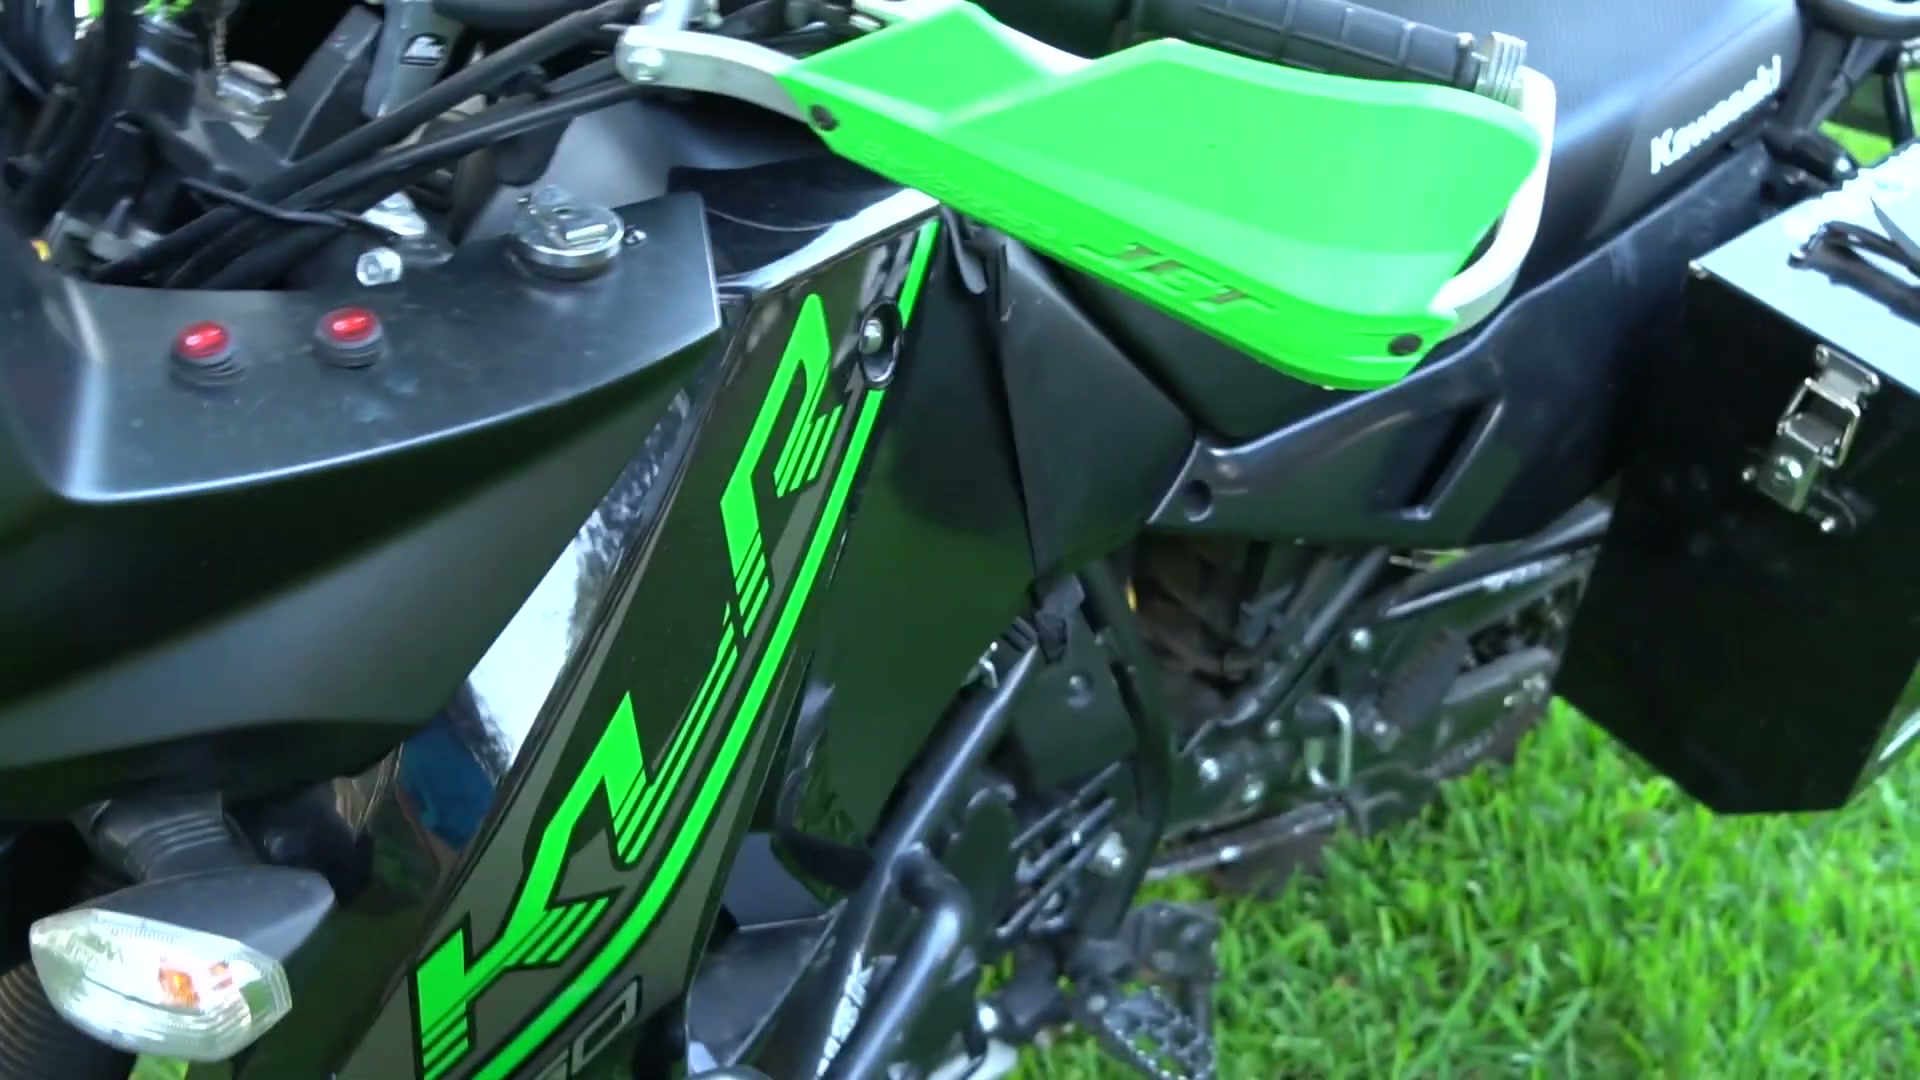
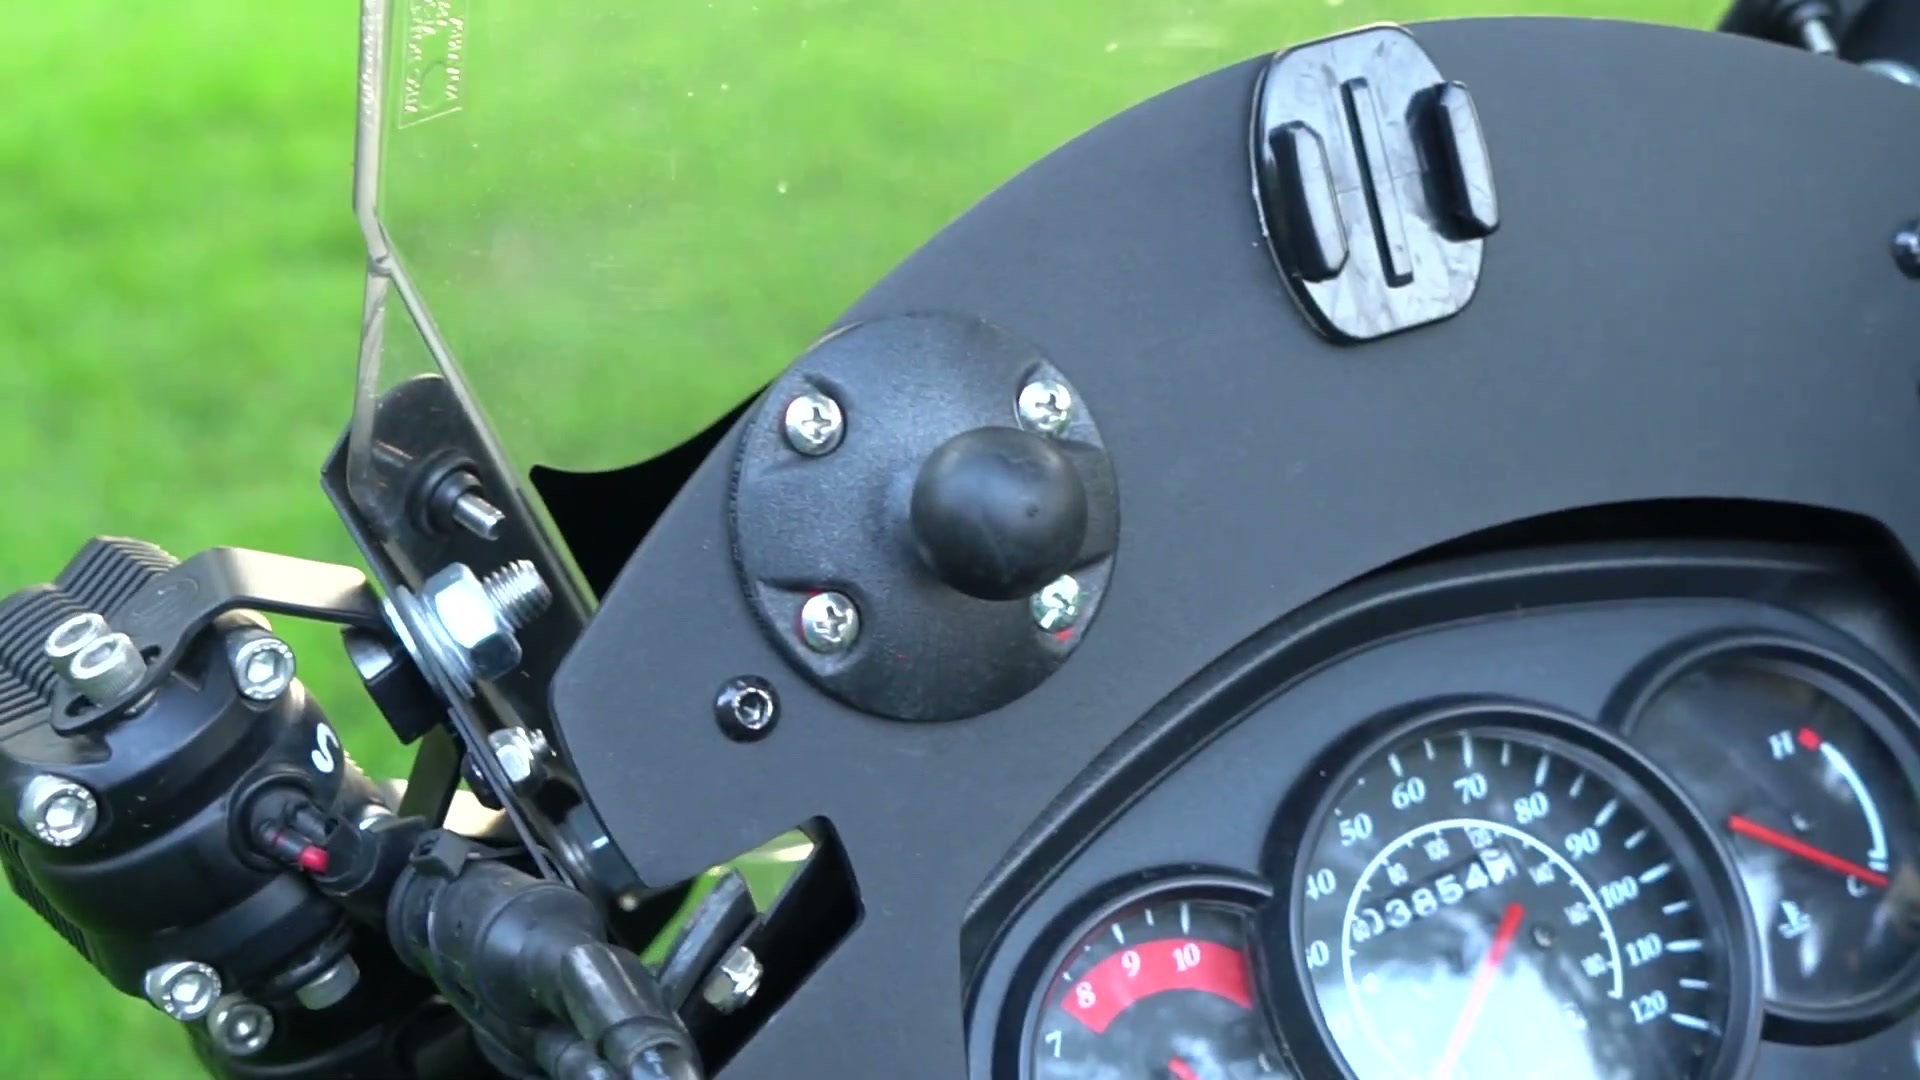
All four are mounted to a KLR Dash. Honestly, it feels flimsy. But through all the vibration of the TAT, I never had a single problem with it. I drilled holes straight through to mount the lights and everything has been totally fine.
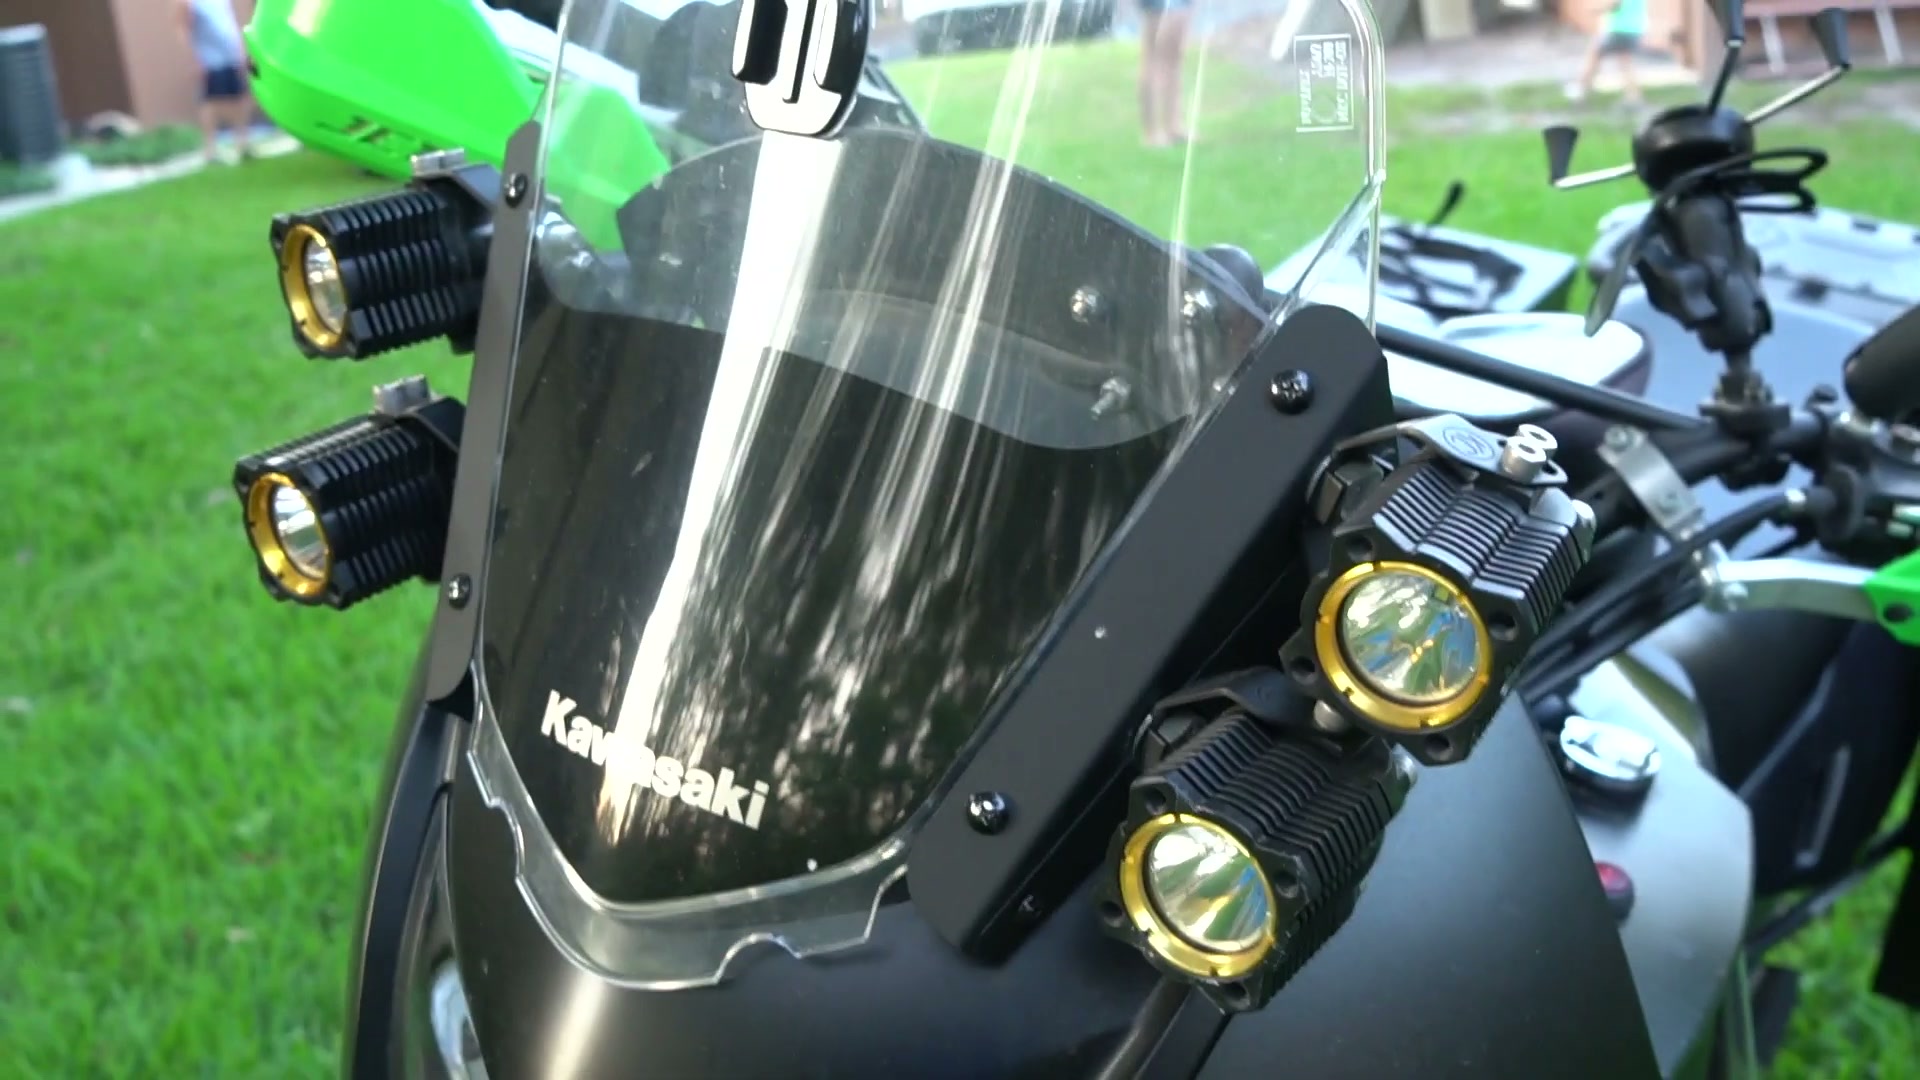
One thing I’d change: a taller windshield. I’m 6’2″, and this one doesn’t push quite enough air over my helmet. Another three or four inches would be ideal for someone my size.
The cheapest trick on the bike
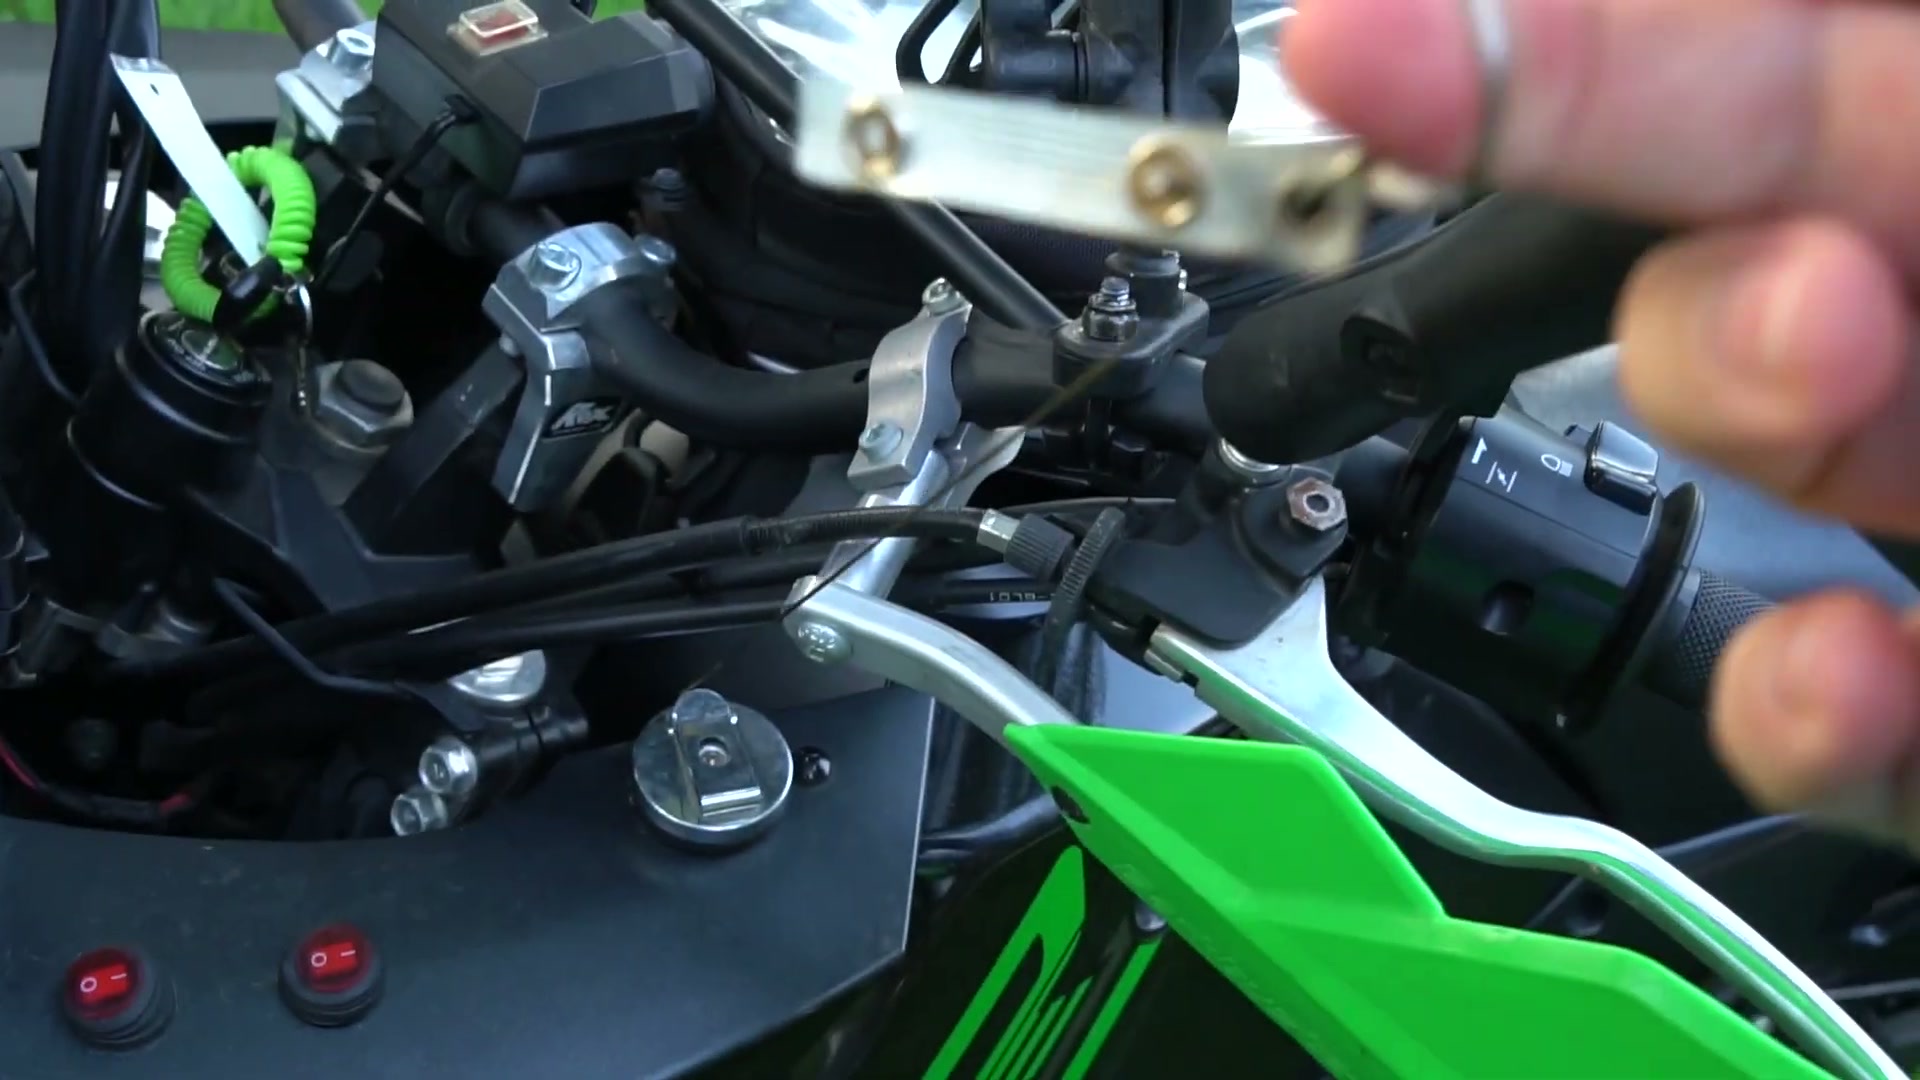
Here’s a little one I love. I took one of those retractable key reels, poked a hole through a cloth, and clipped it on. The cloth stuffs up under the cowling. When my face mask got dirty, I’d pull the rag out, wipe it down, and let it snap back under there. It costs almost nothing and I used it every day.
Tires, protection and pegs
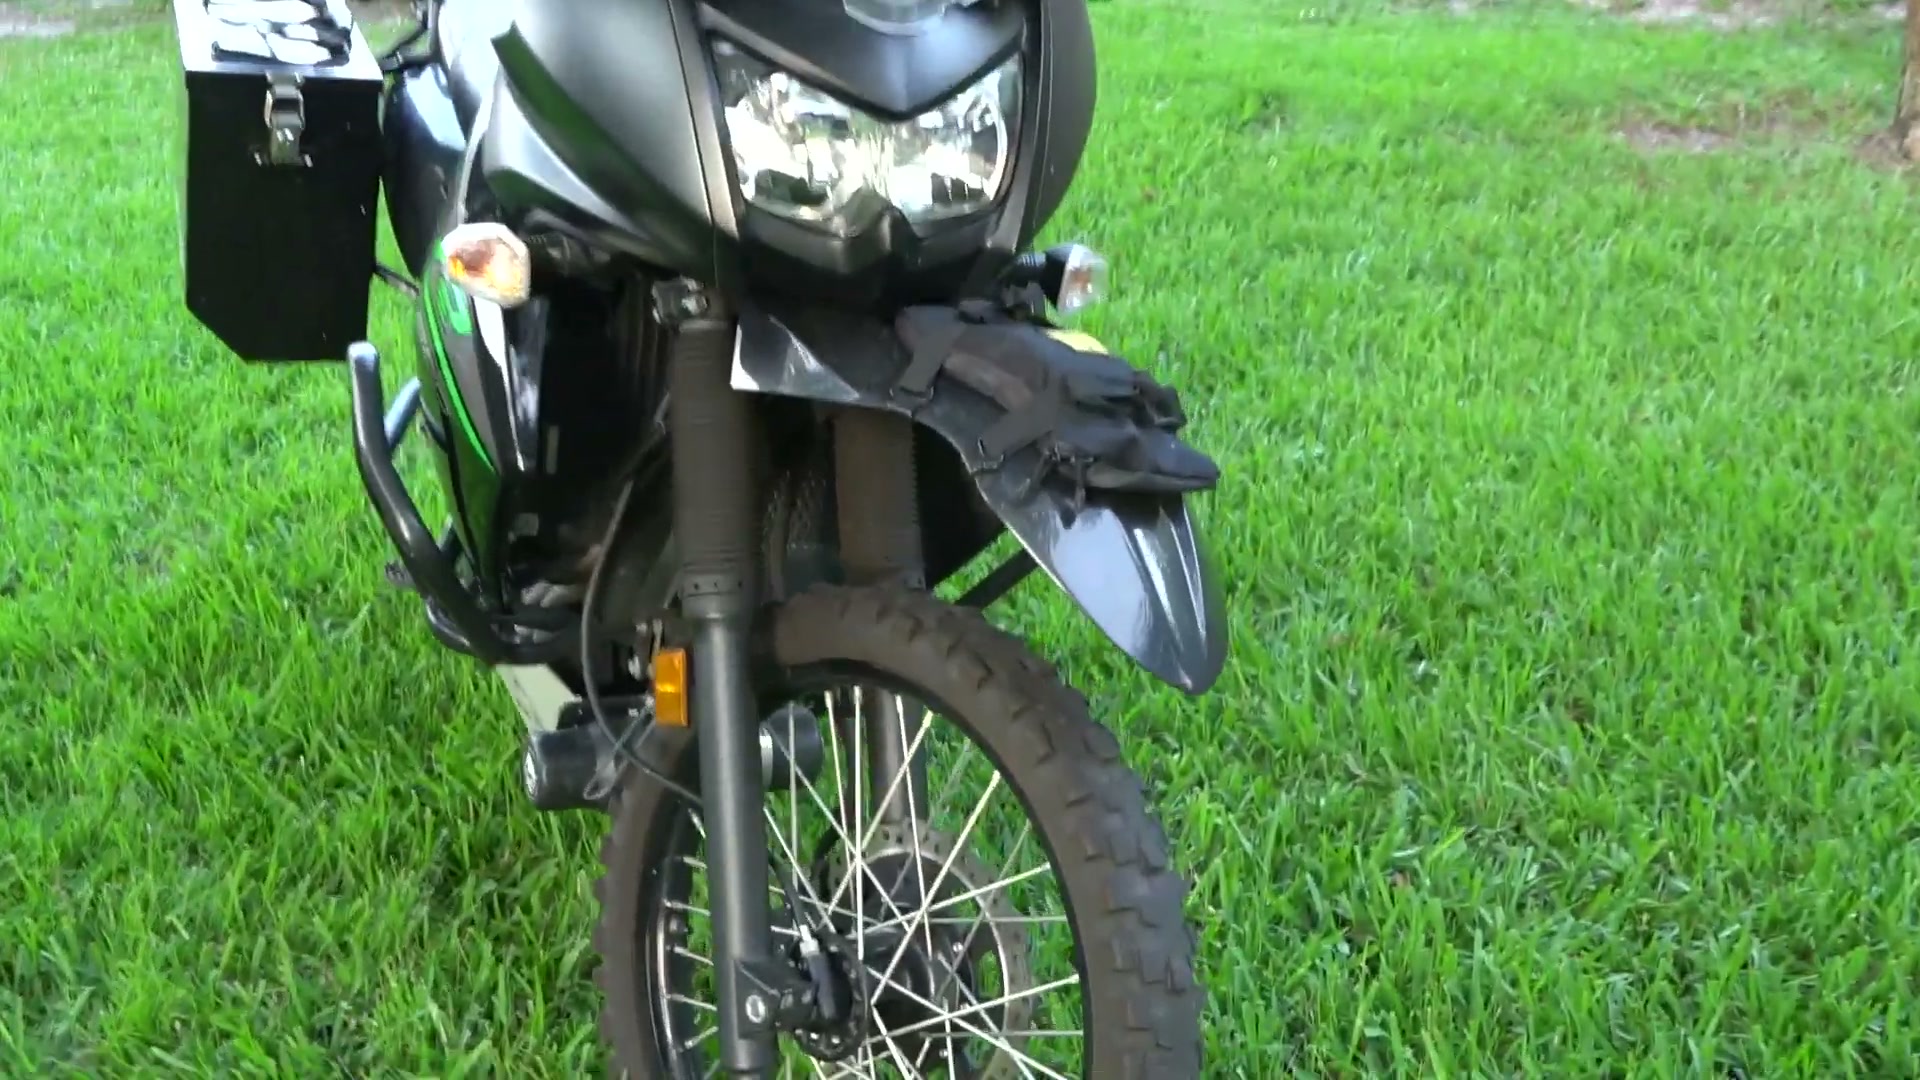
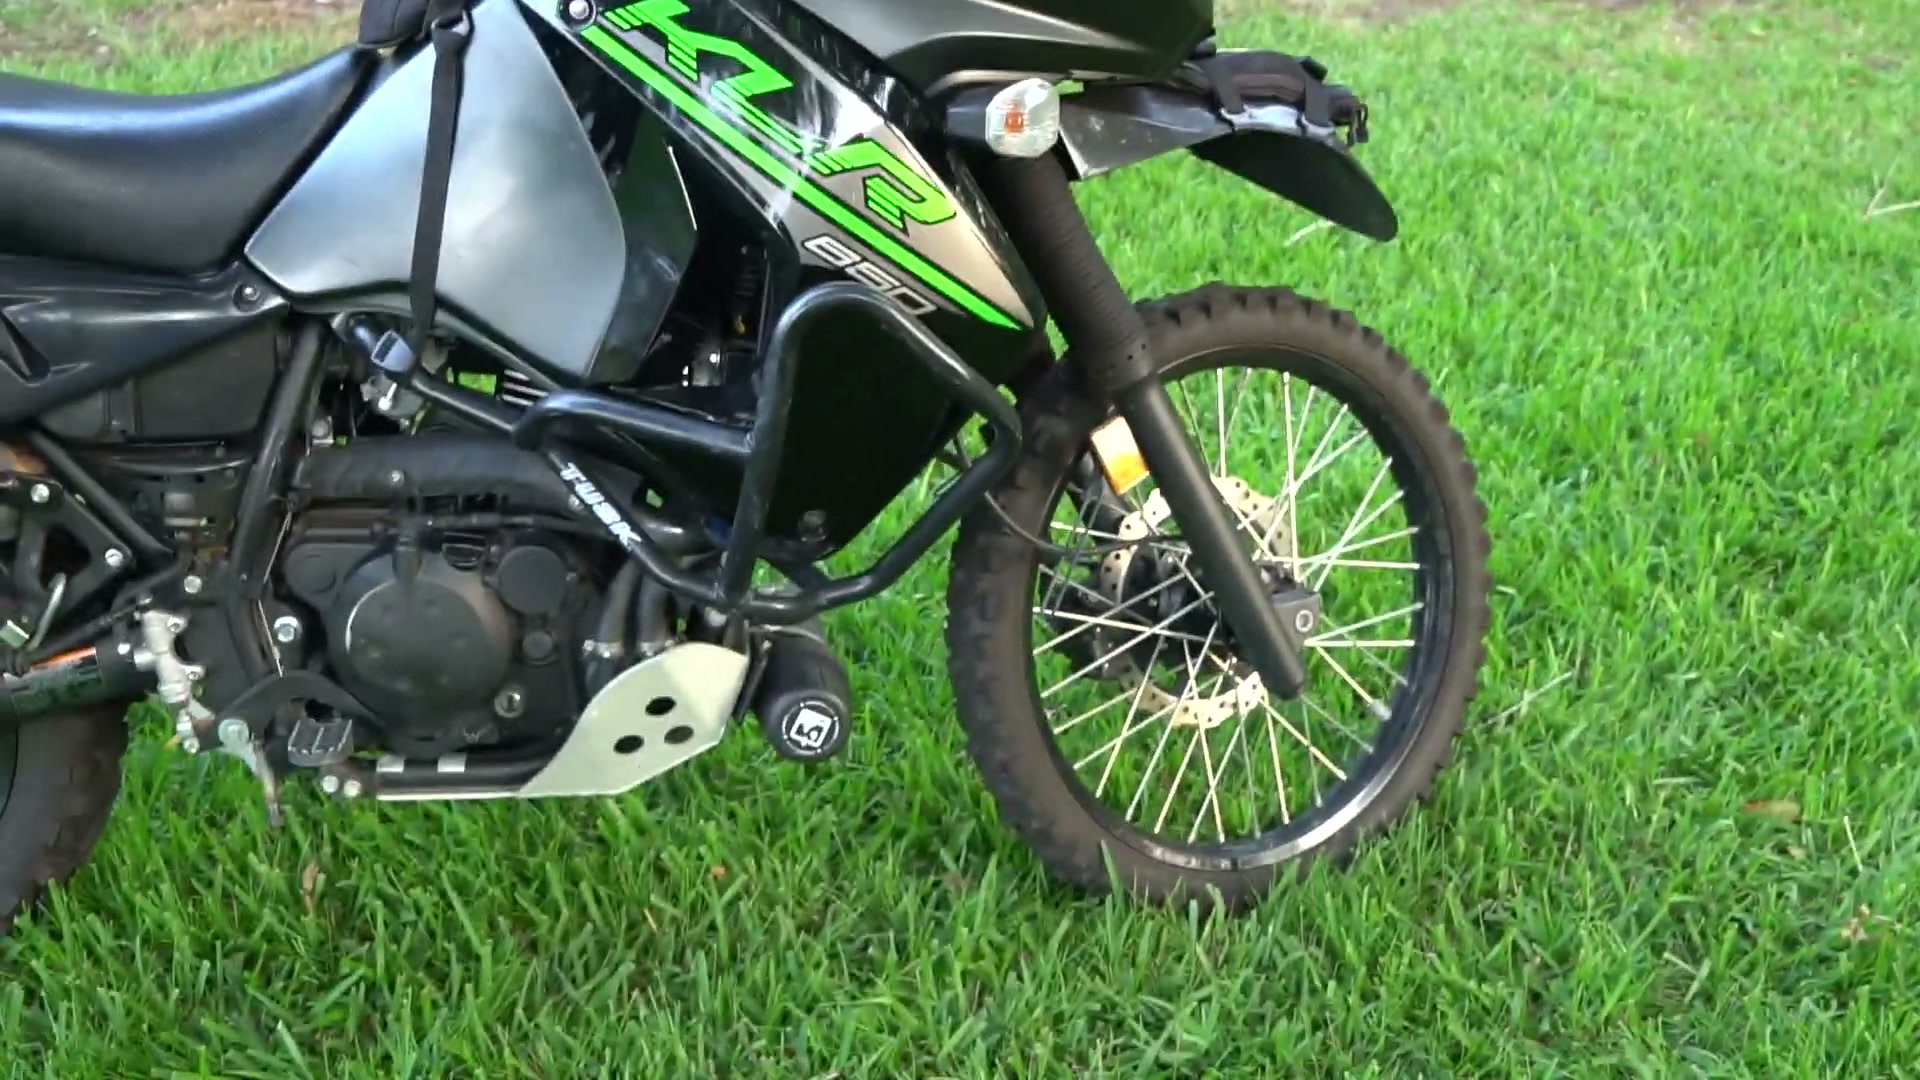
I ran Dunlop 606 tires and they did great on the trail. They just don’t last long. There are only 3,000 miles on this bike and you can see how worn they are.
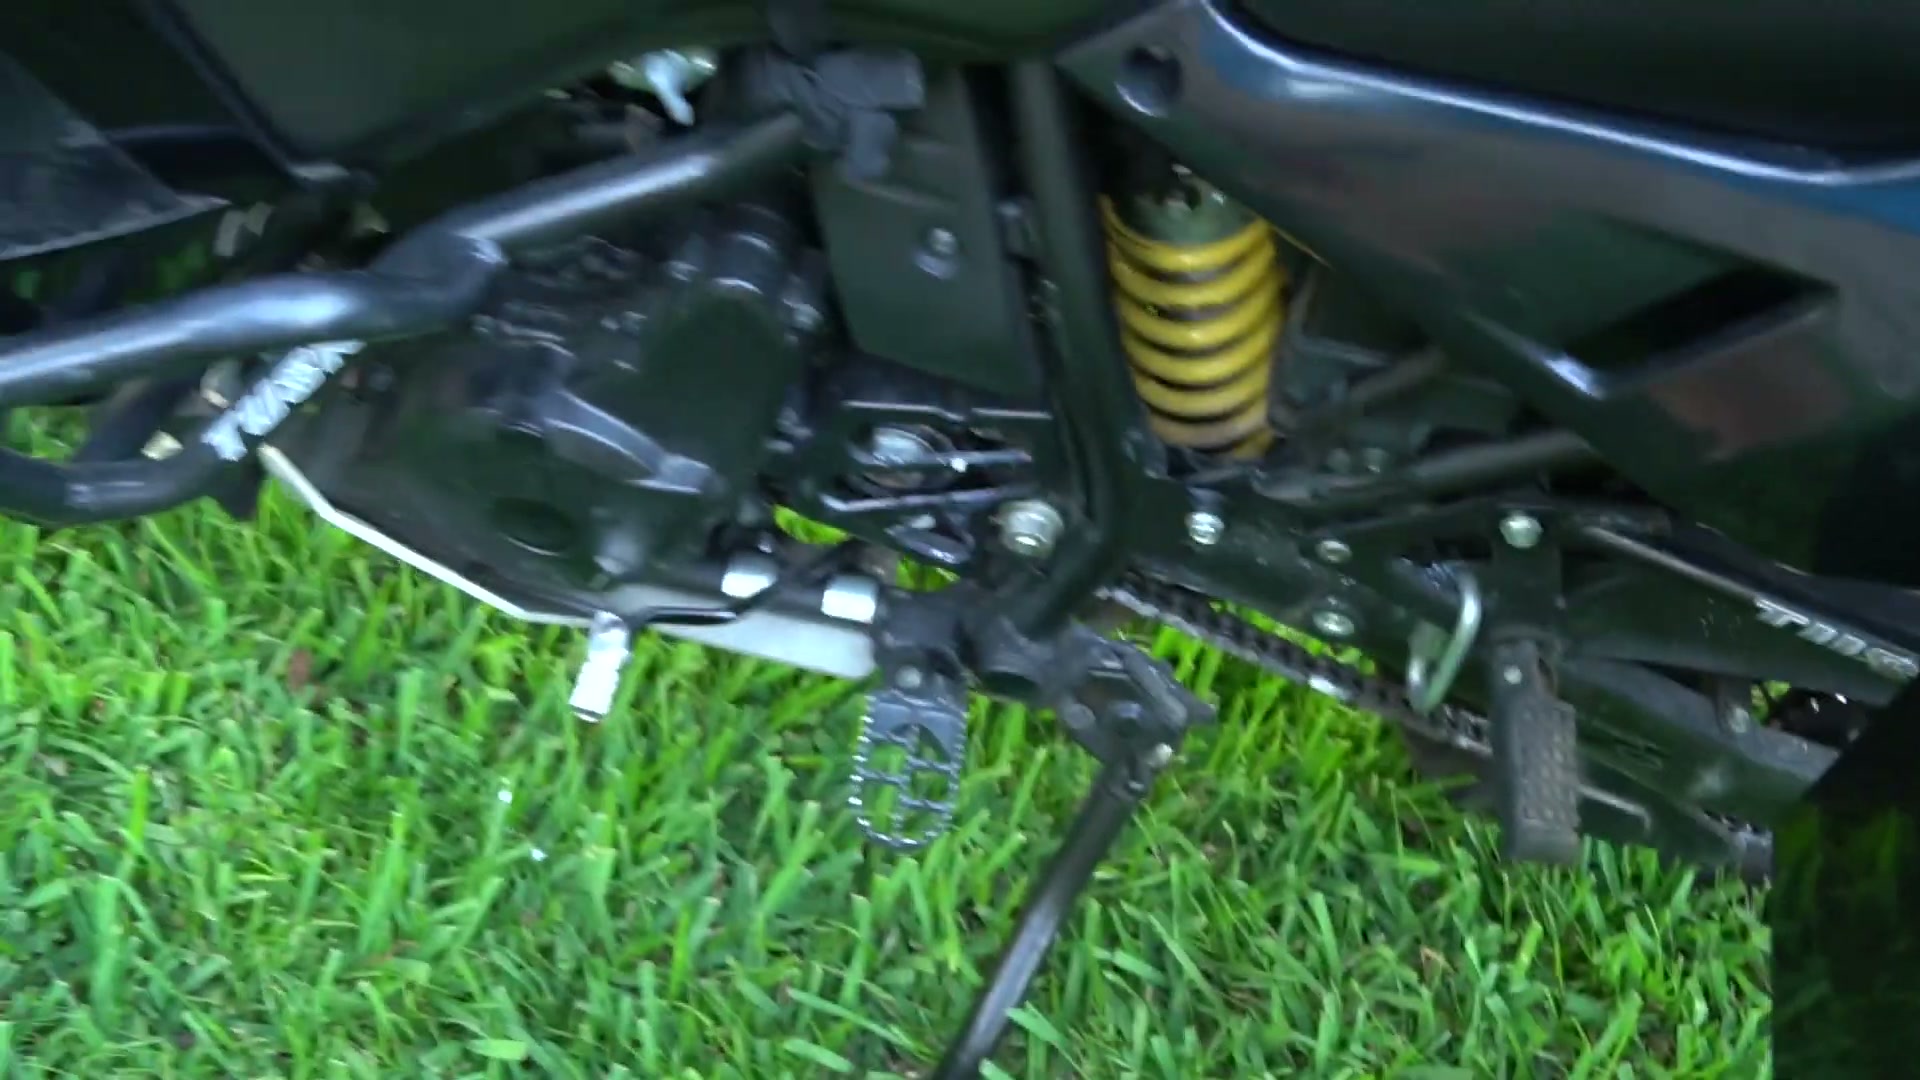
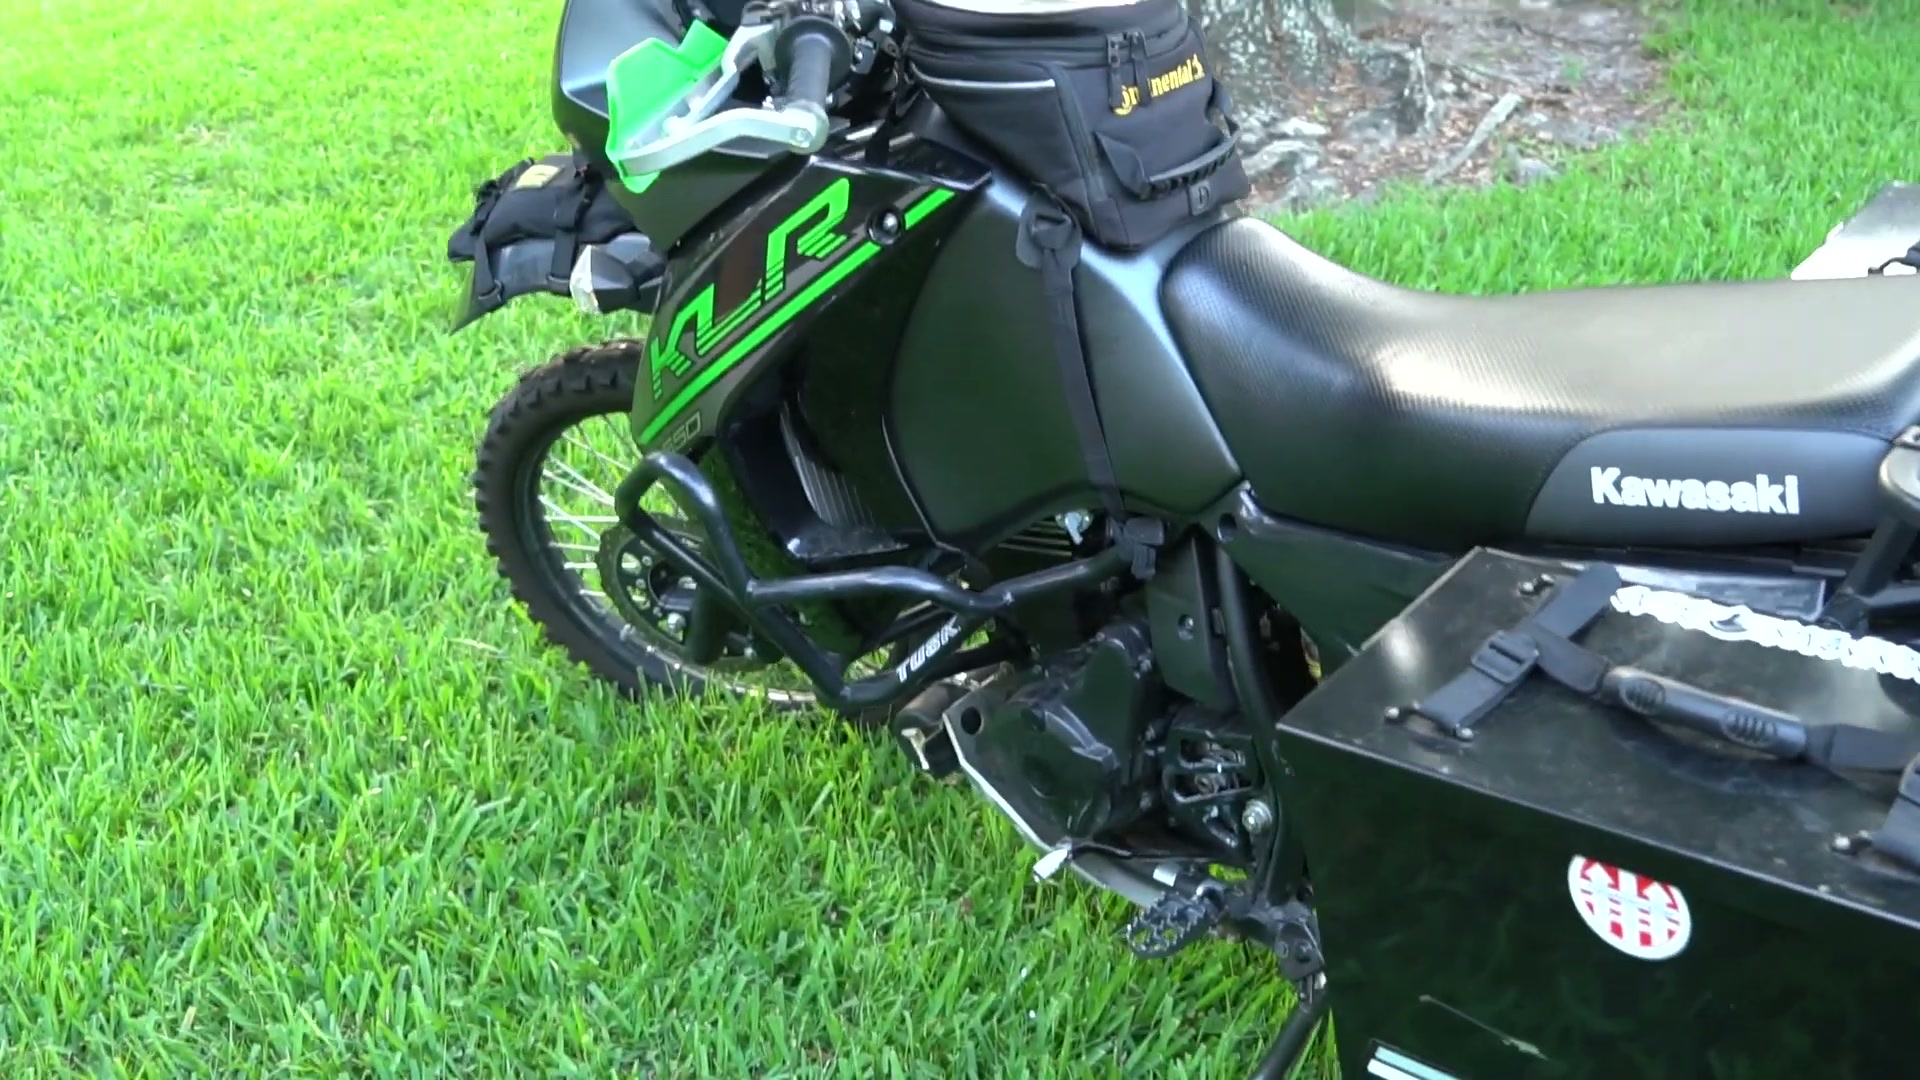
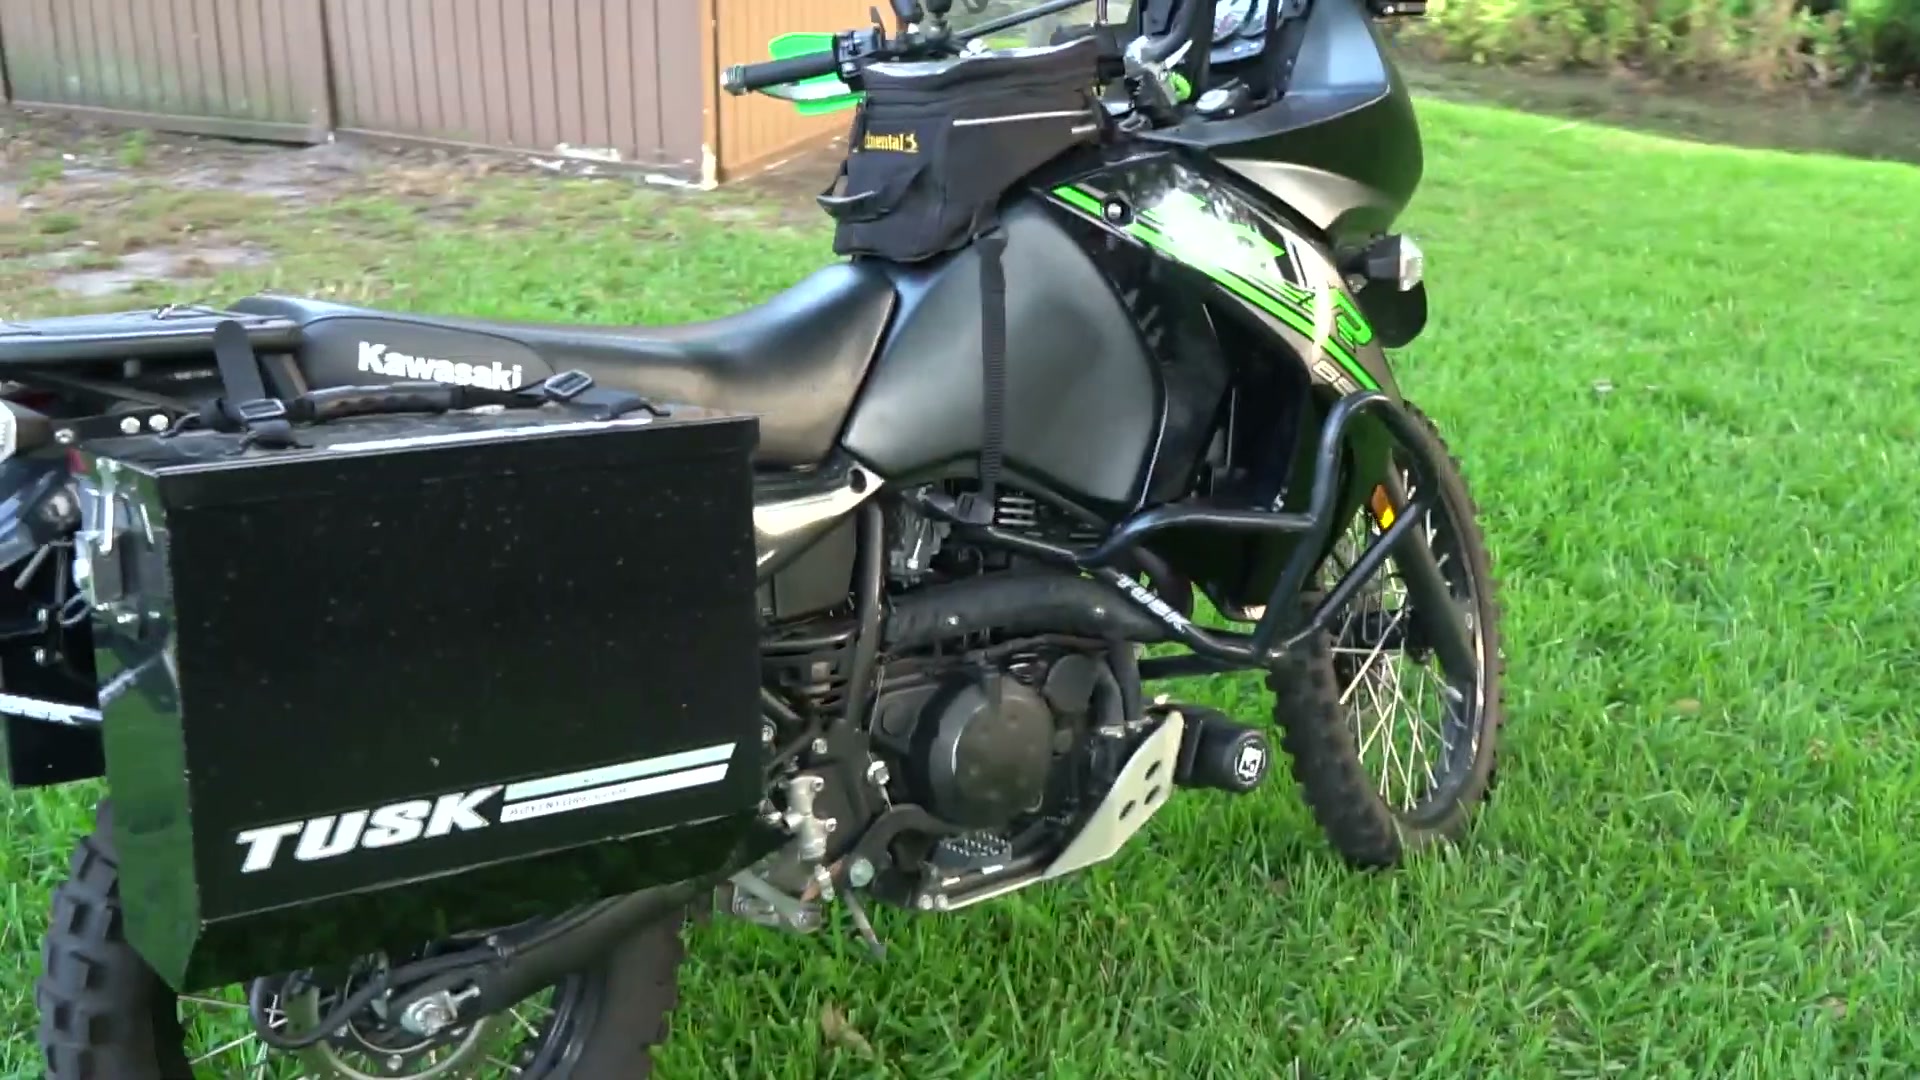
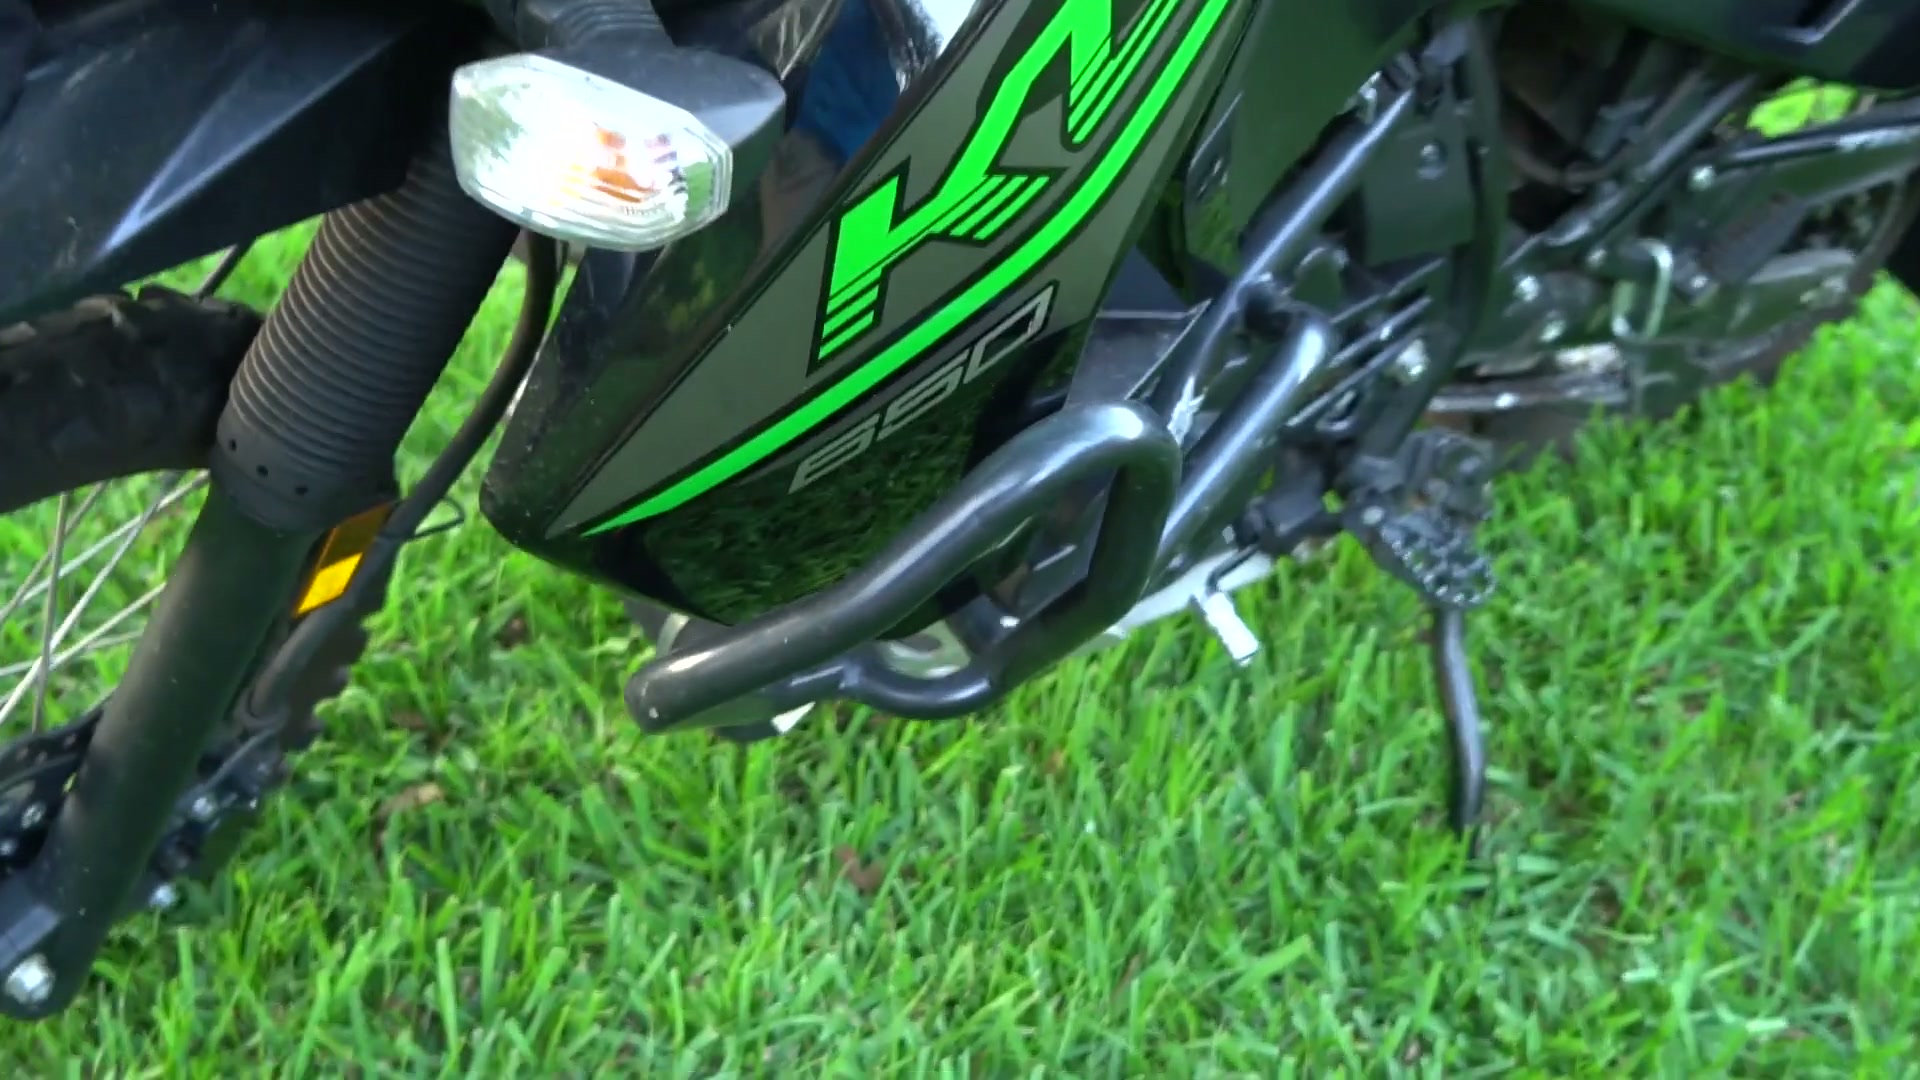
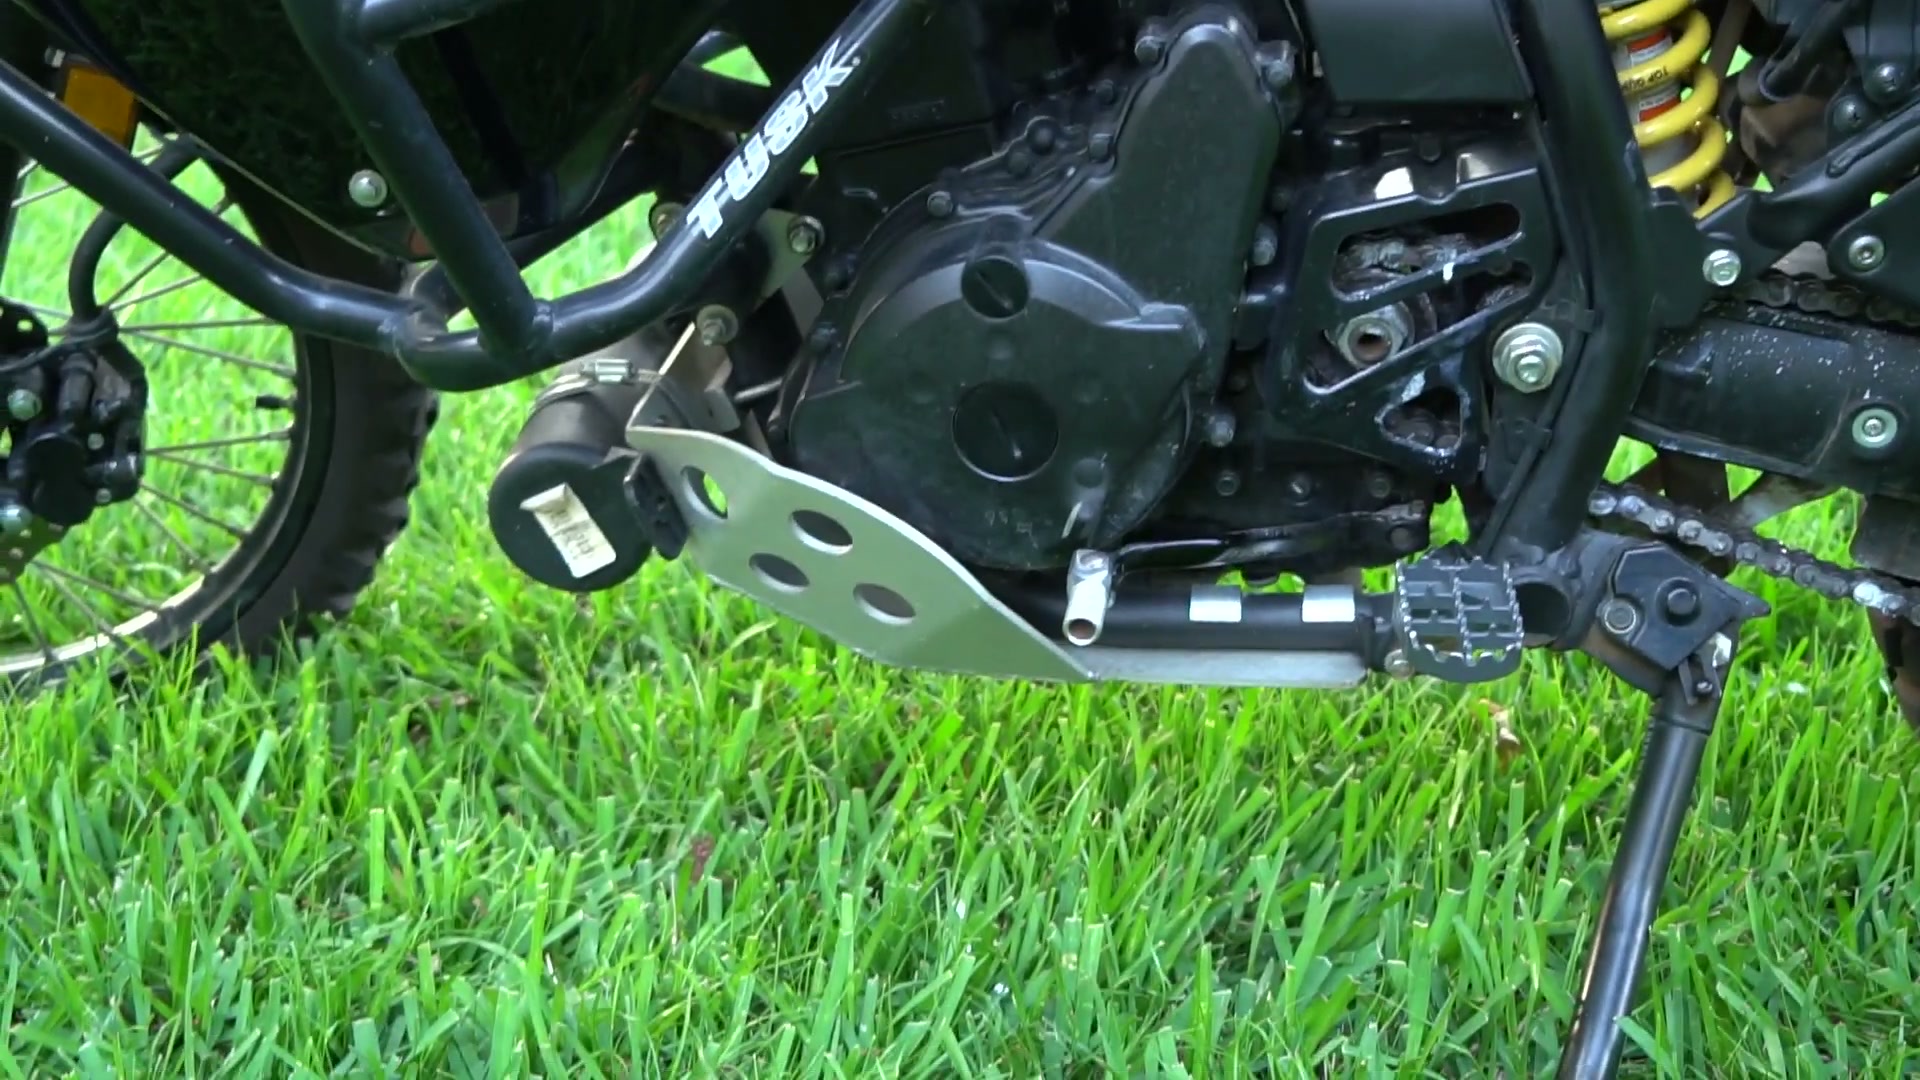
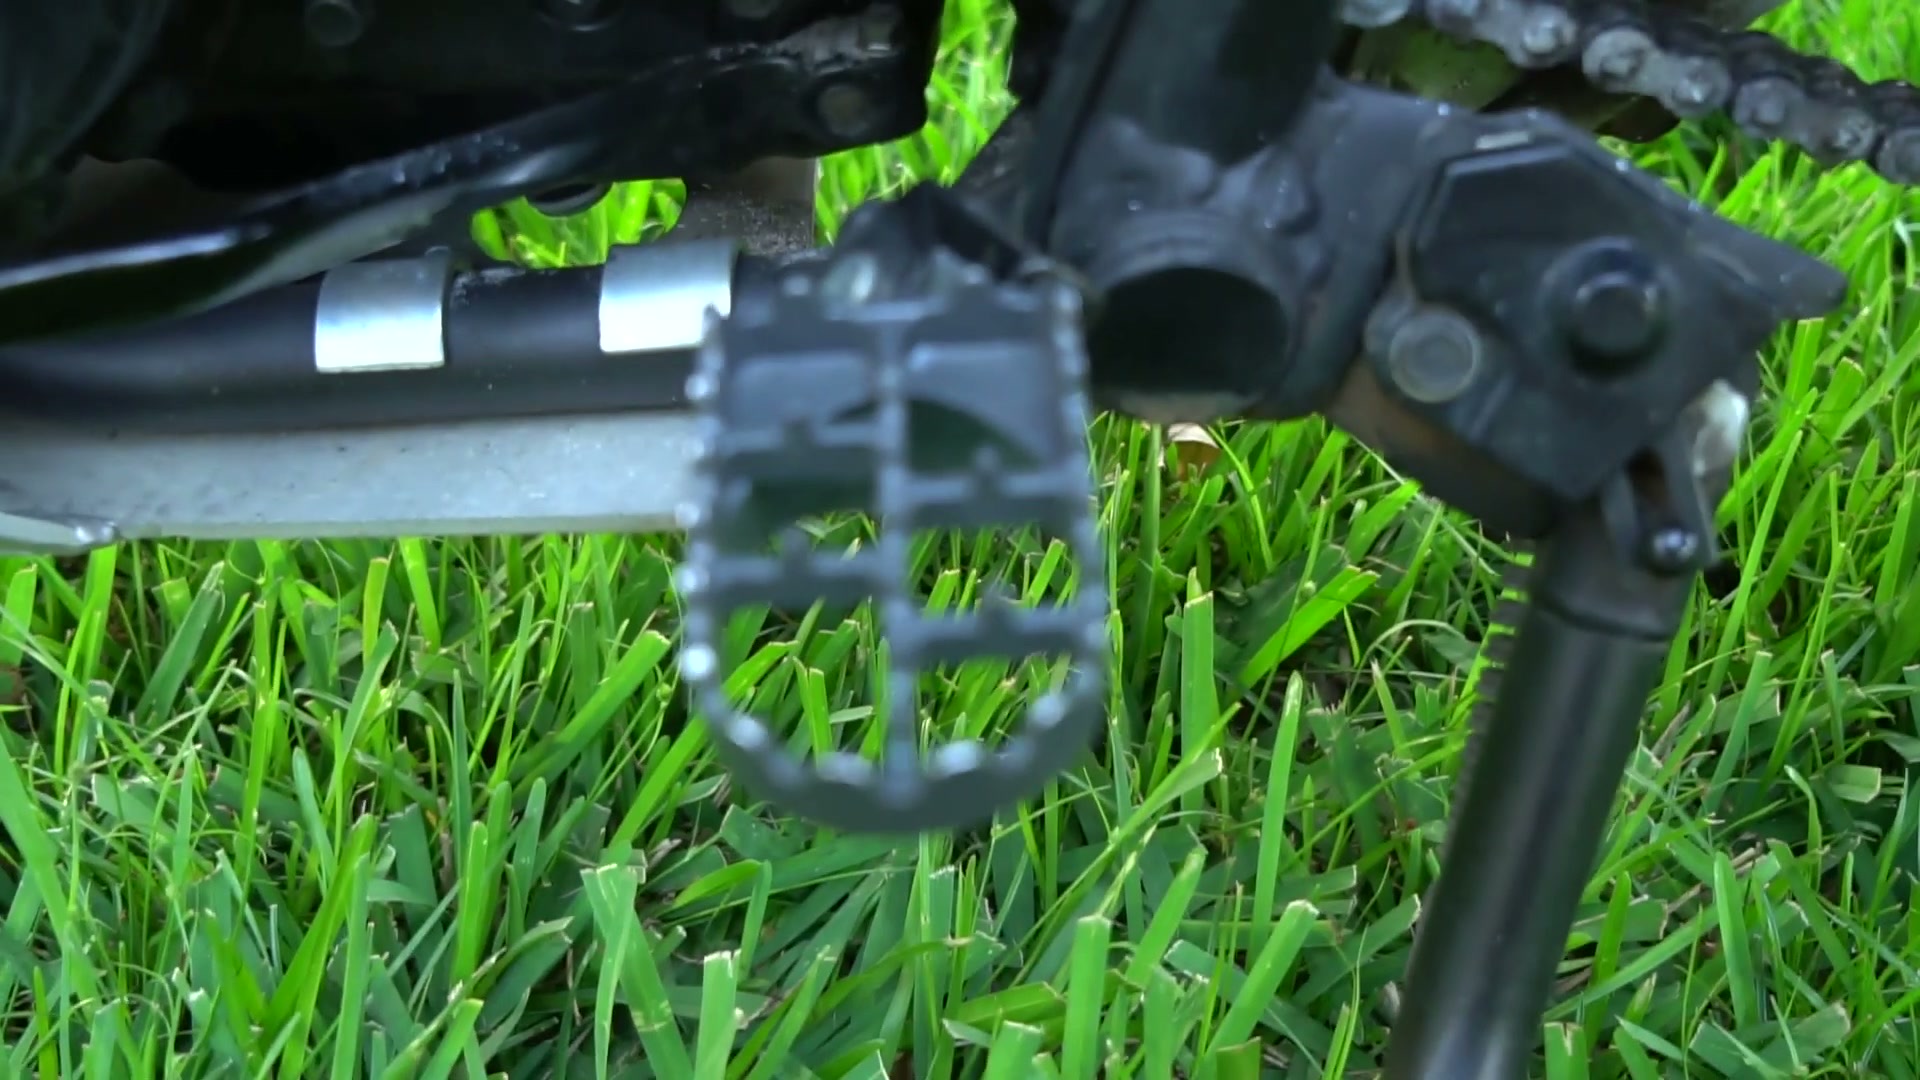
For protection I added Tusk crash bars and an aluminum skid plate (I think it’s a Moose Racing). And if you only do one thing from this list, get bigger foot pegs. The stock KLR pegs are small and slippery, and wider pegs make a huge difference.
The spring that saved the bike
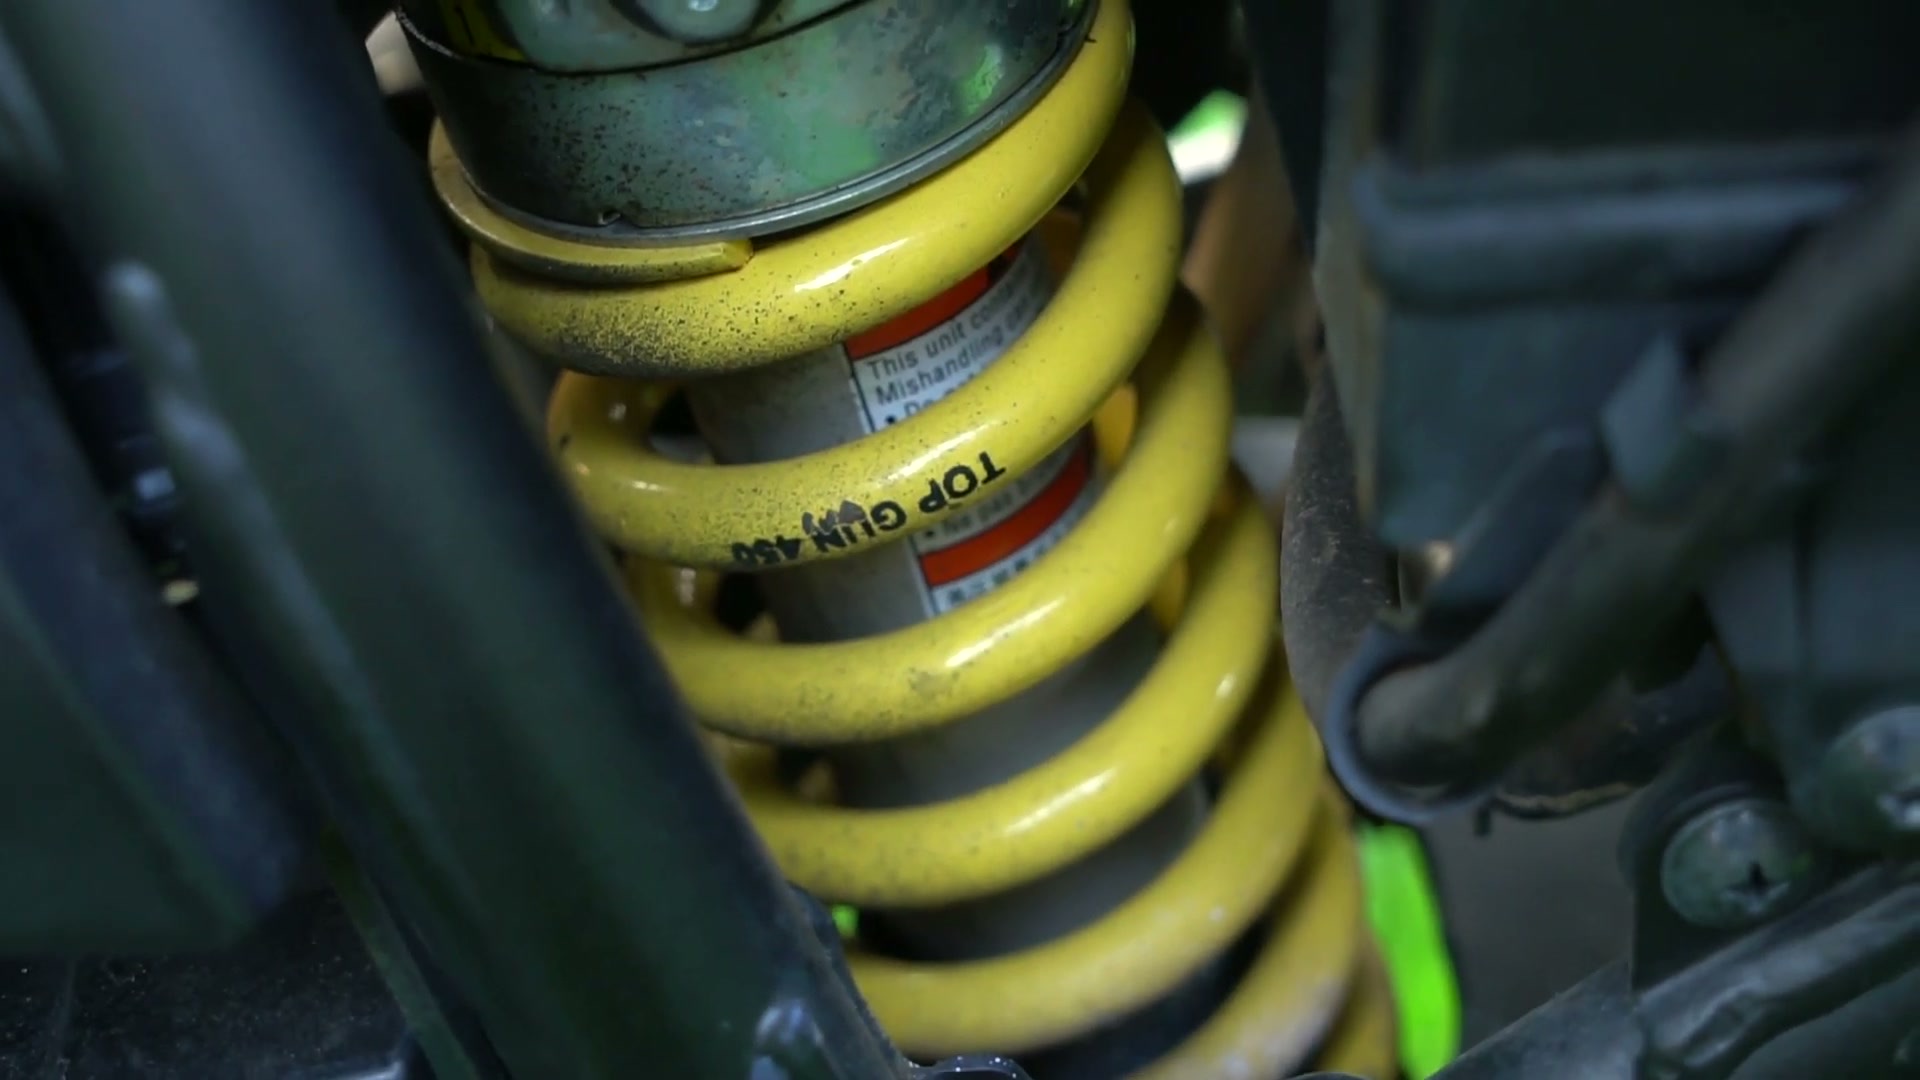
I put in a heavier rear spring with higher tension, because I’m 250 pounds and I was carrying about 30 pounds of gear. It made a very, very big difference. To give you an idea, without that spring the bike was squished down so far it would fall over on its own if a mouse farted near it. That’s a common problem with these bikes, so if you’re a big guy, start here.
The cockpit
Bark Busters are truly amazing. They keep branches and rocks off your hands, and they block a little wind too. I also ran Ram-mounted mirrors that are easy to move but stay put while you ride. They’re nice, but not a requirement, since you barely use mirrors off-road.
A Ram mount for your phone is a must. I’d have been so unhappy without it. For the whole TAT it was mounted on the KLR Dash, and the vibration was so vicious it shook off all the little rubber pieces. My OtterBox case is the only reason the phone survived. Later I moved it to the handlebars and that made a massive difference.
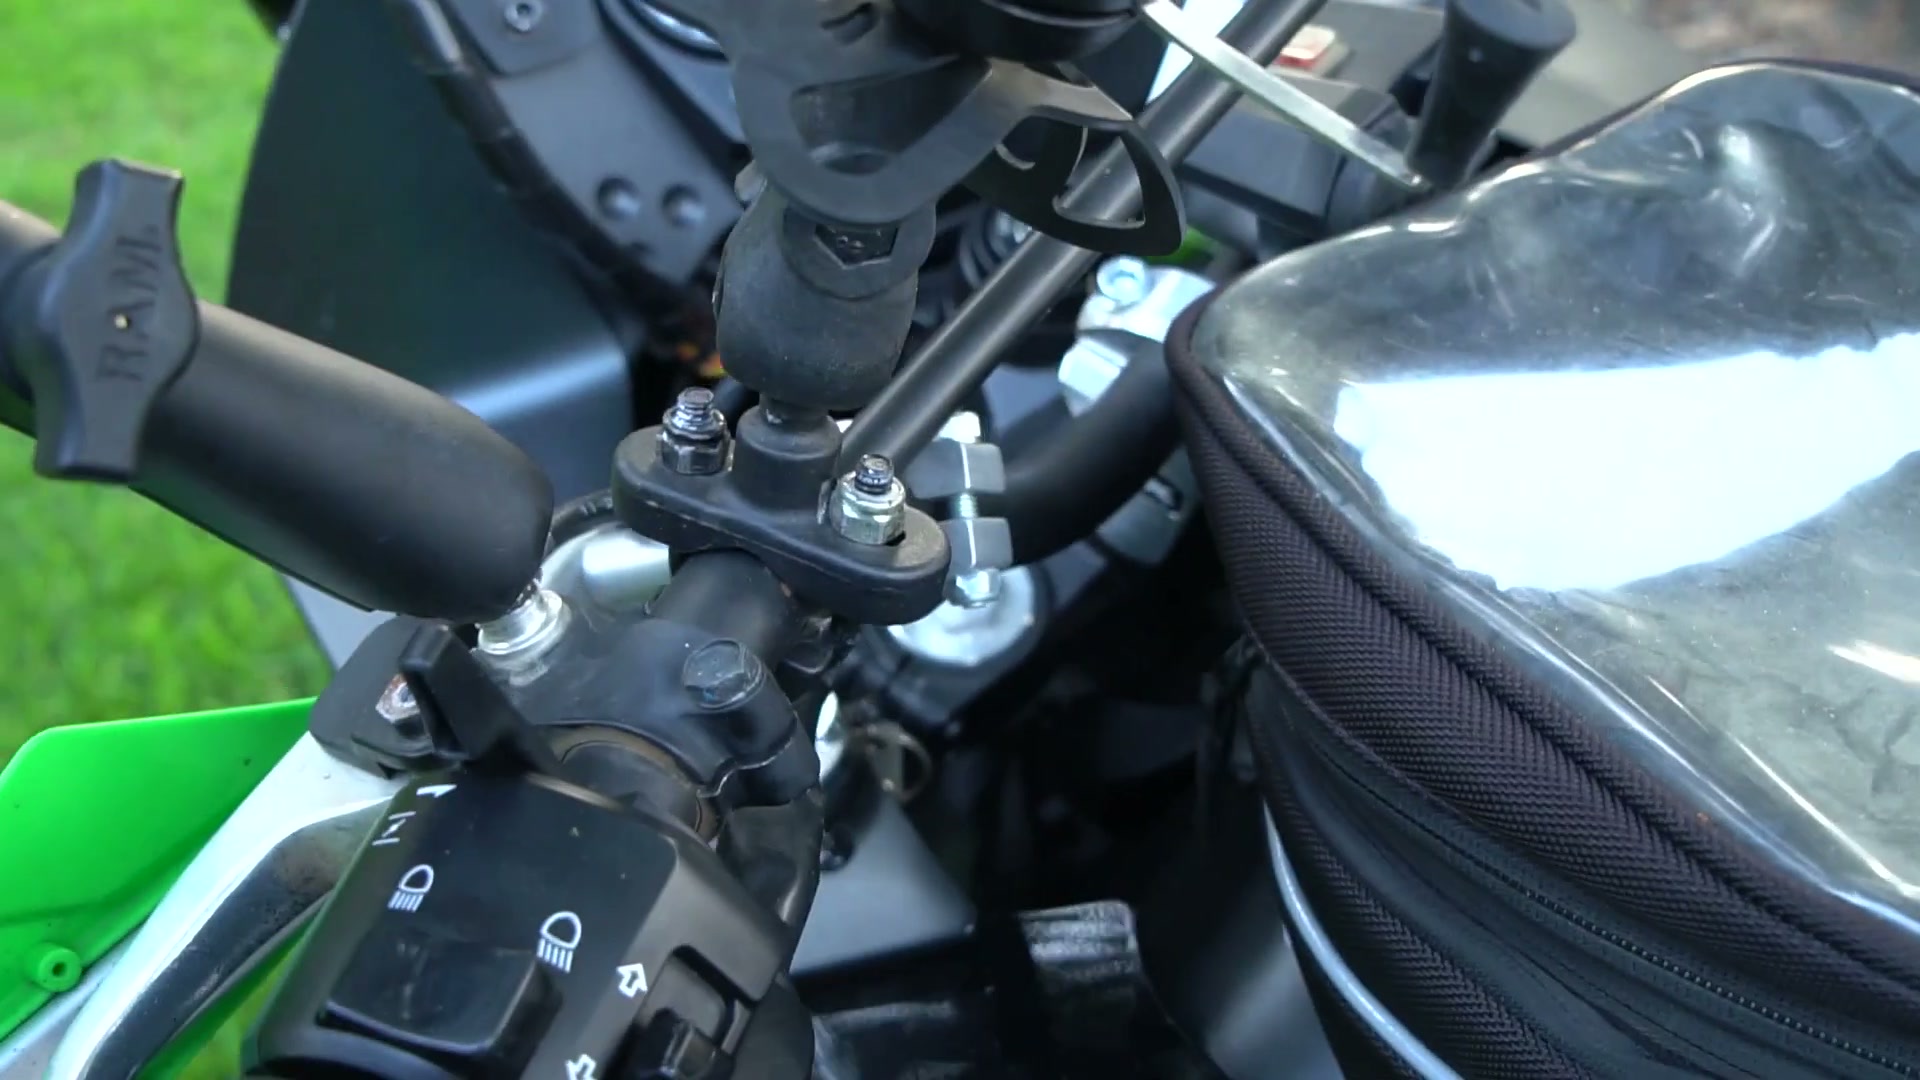
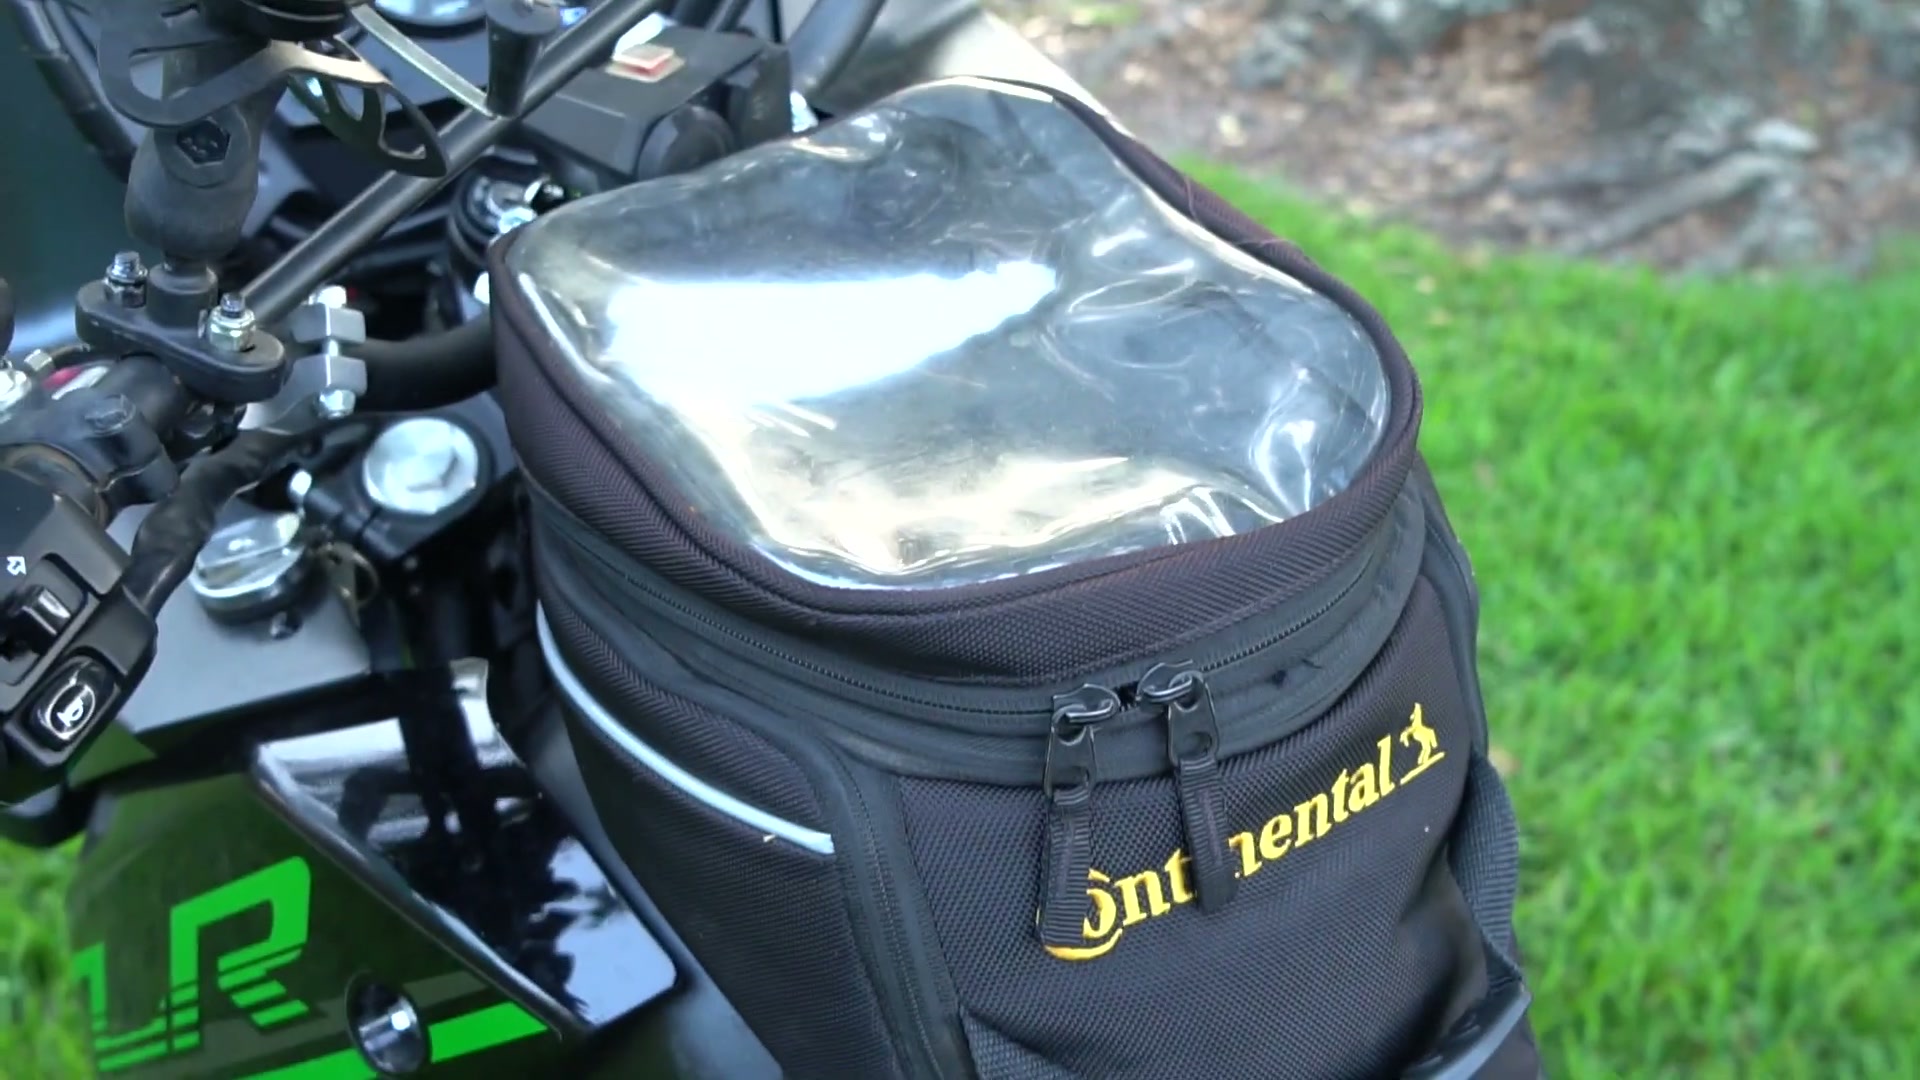
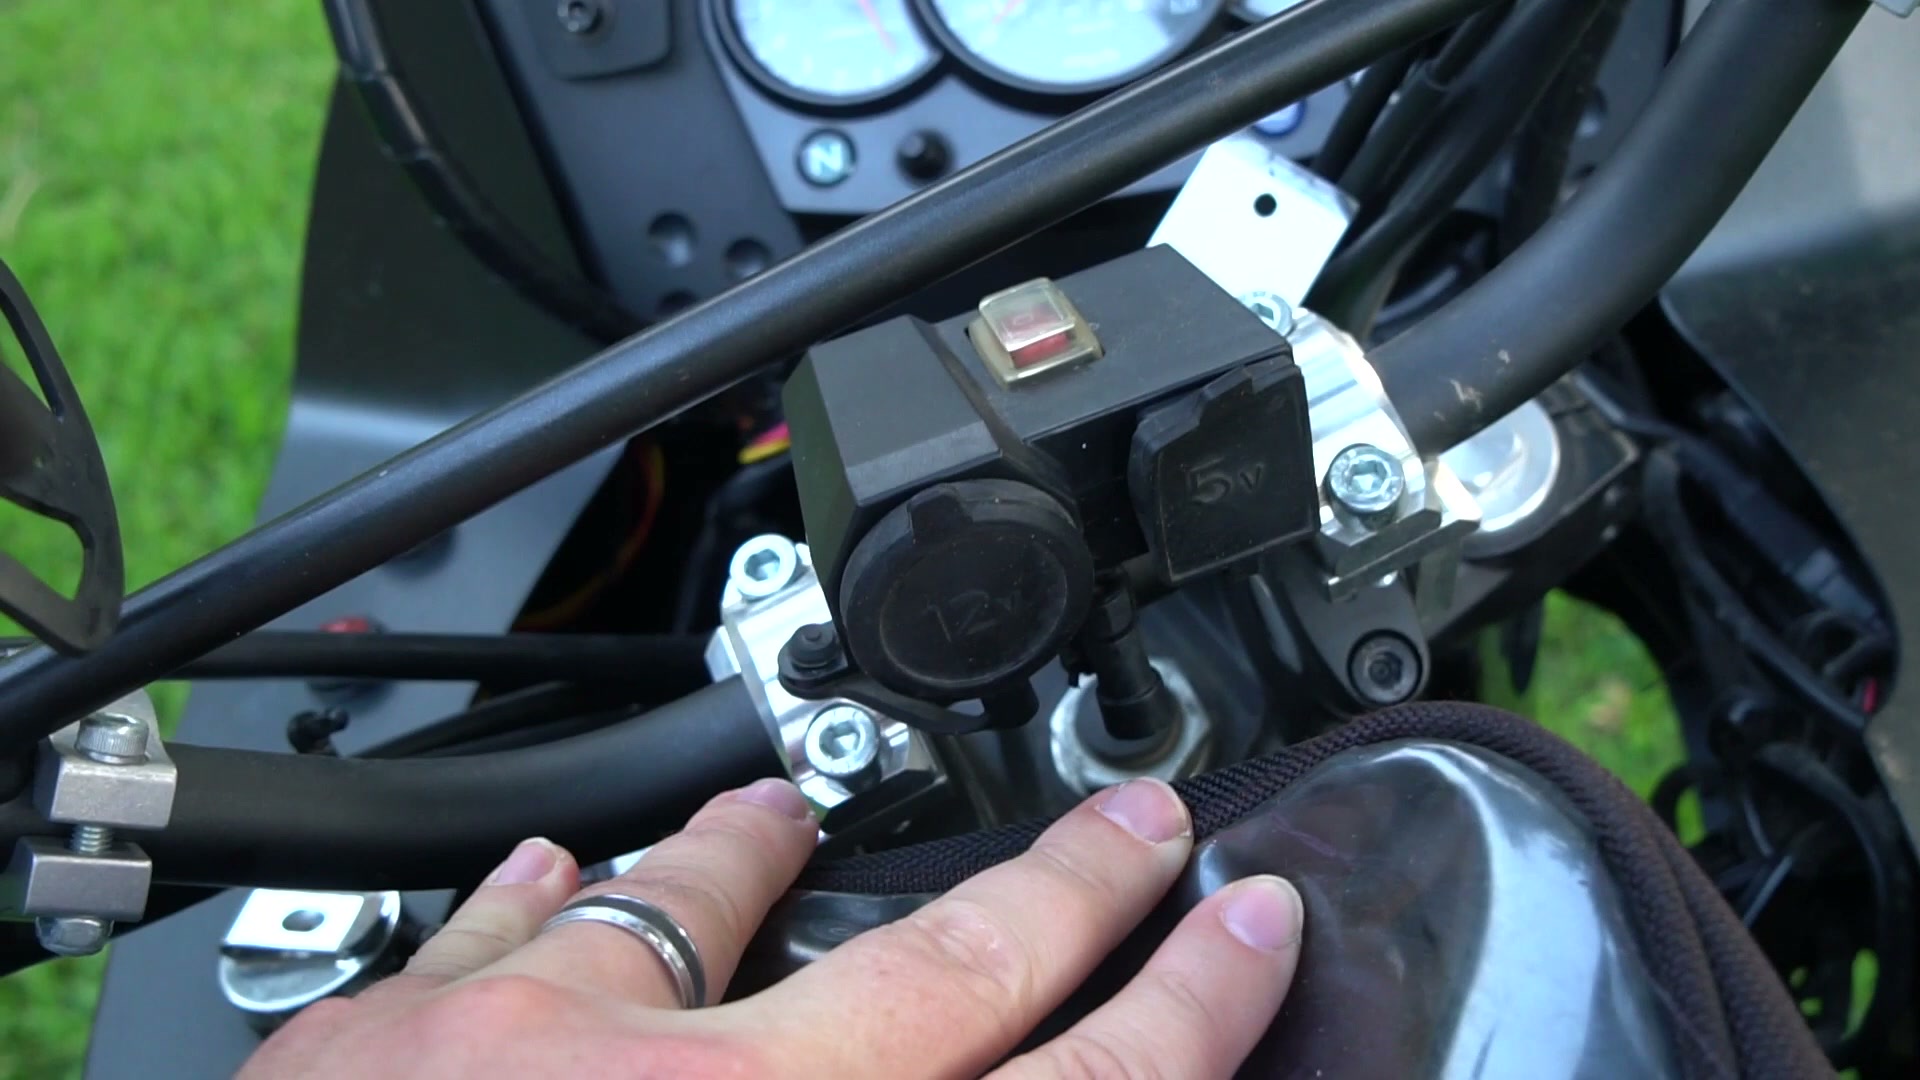
A tank bag is a must too. It’s where your sunglasses, a rag and your paper map live. The one thing I won’t recommend is the electrical console I installed. It claimed to be waterproof, and it was not. Even worse, only one port actually puts out full power, so if you charge two devices at once, neither one really charges. I did like the cutoff switch. That’s about it.
Hard panniers vs. soft bags
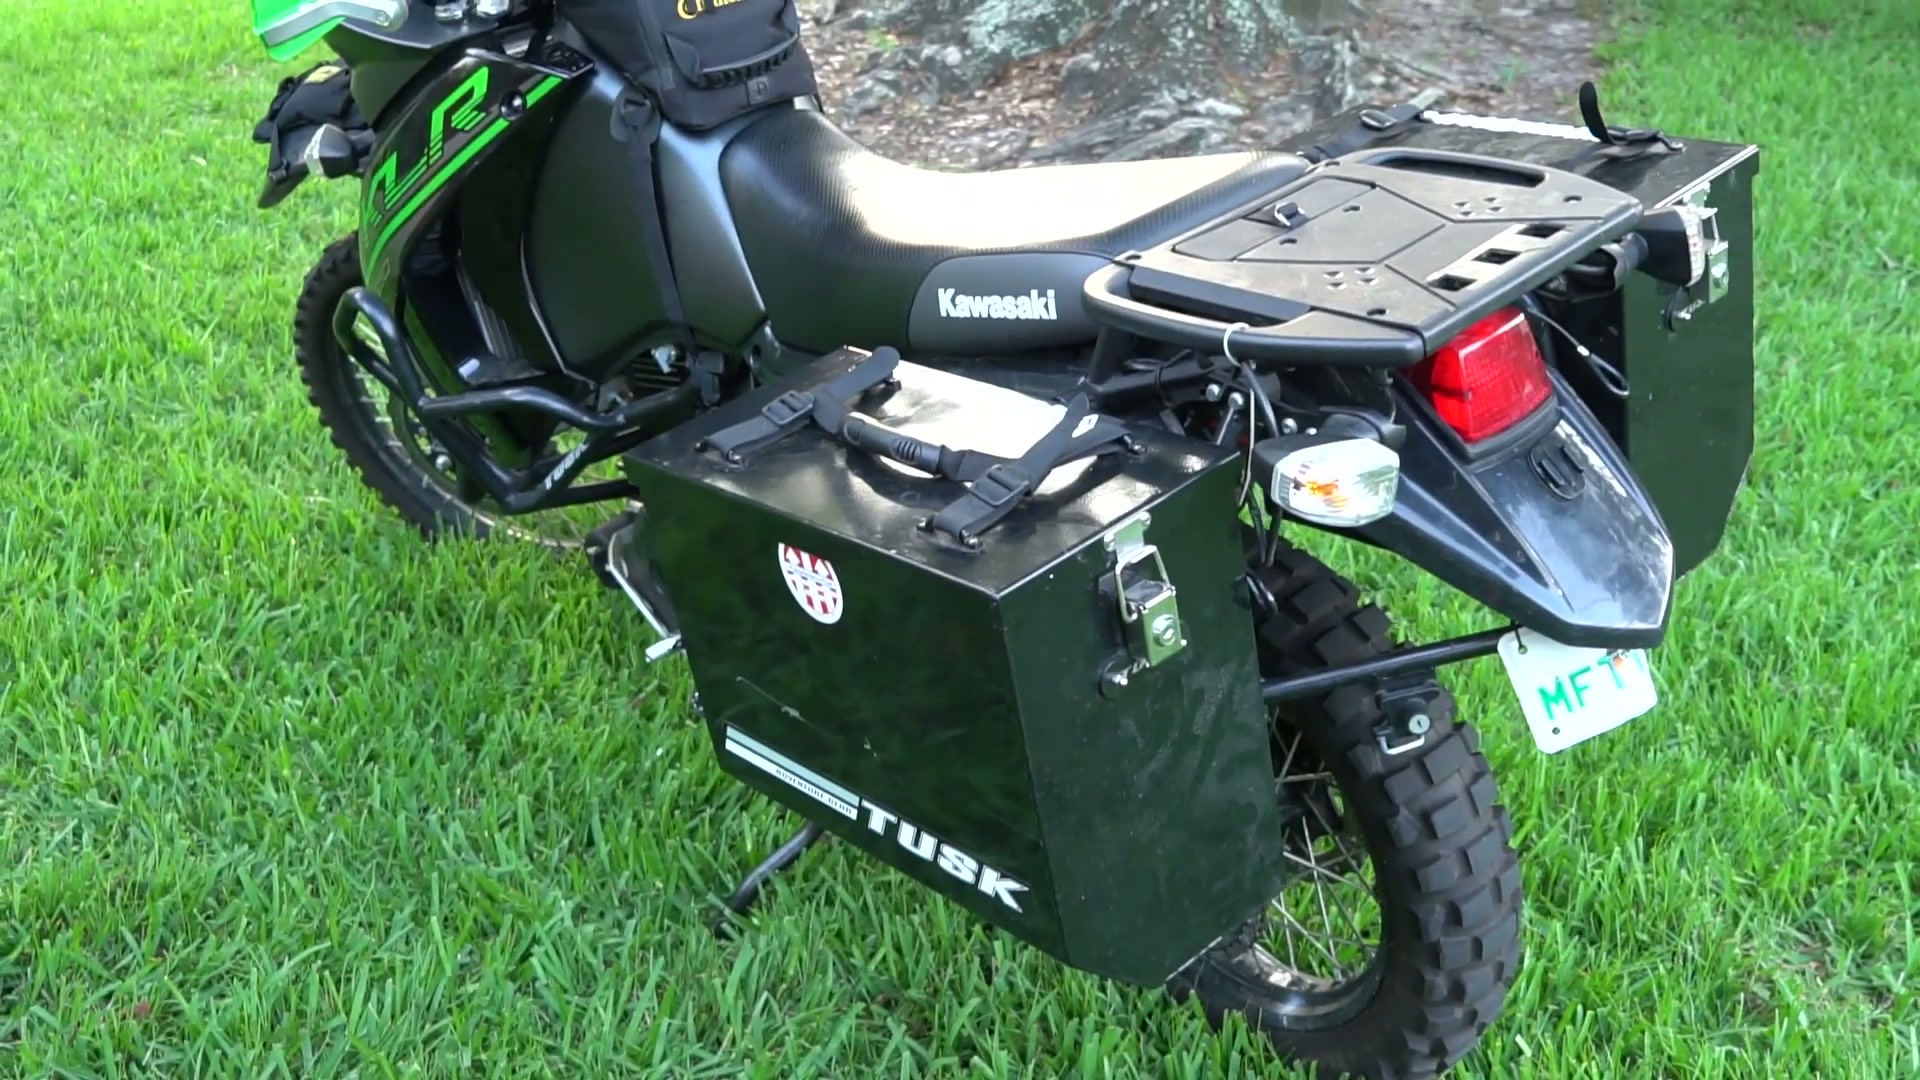
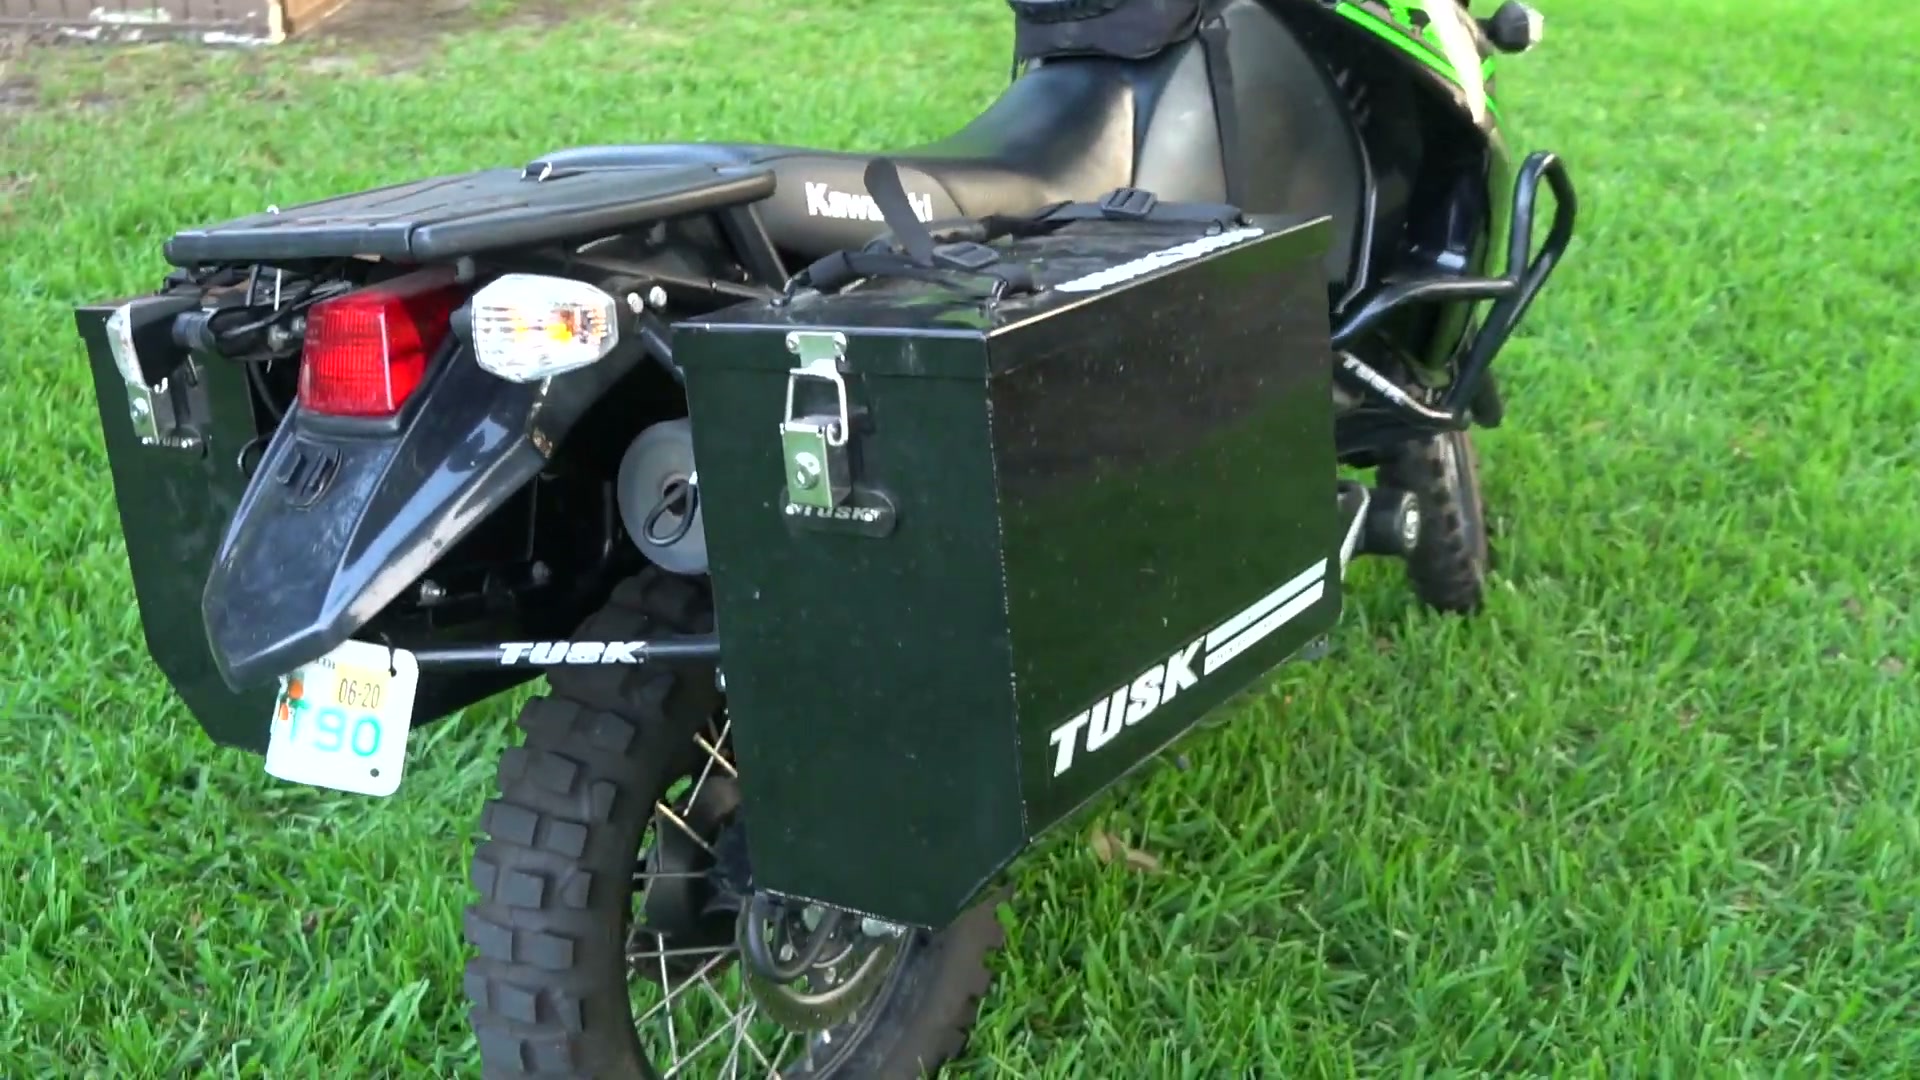
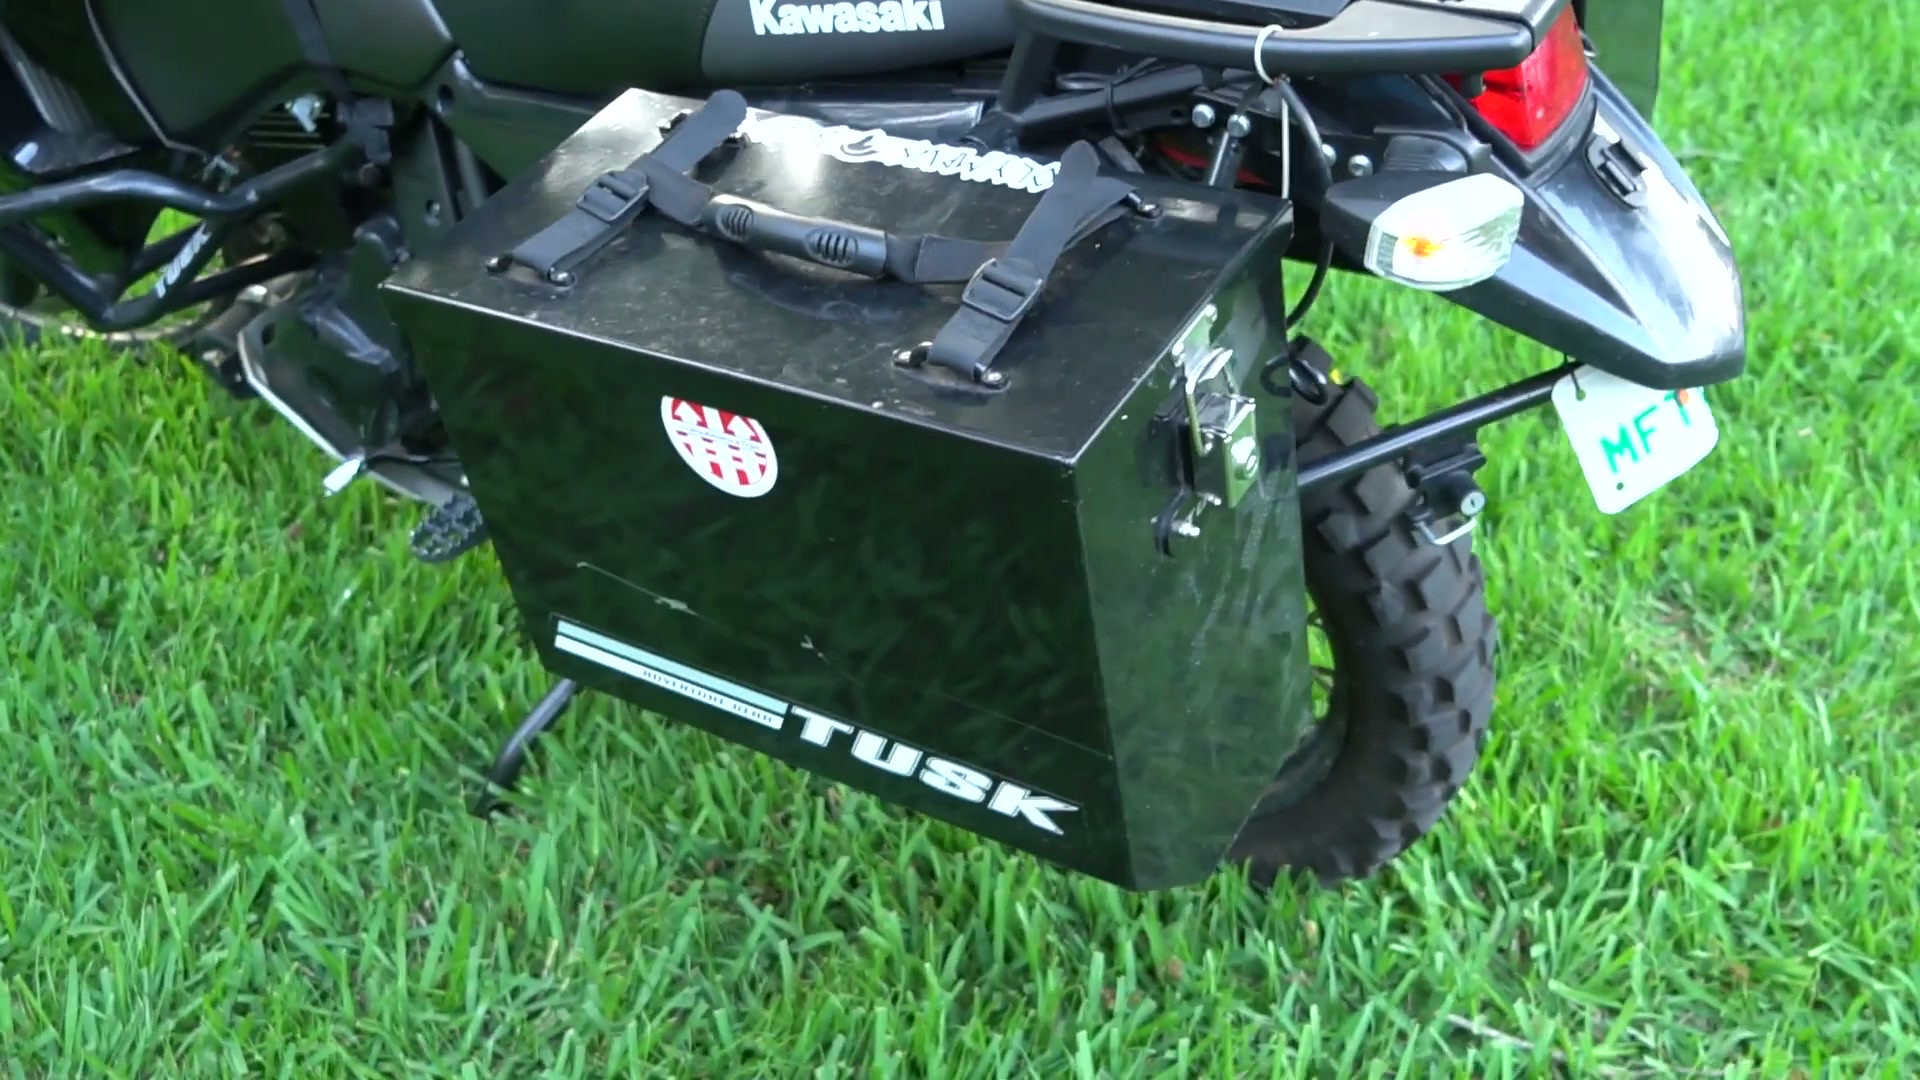
I put Tusk hard panniers on the bike, and then I didn’t use them for the TAT, for a good reason. The first time I took this bike off-road, it was the first time I’d ever ridden a bike that heavy in the dirt. I was on the stock tires, I slipped, put my foot down, and whacked the heck out of my heel on the bottom of the pannier. That was it for me.
I switched to the Mosko Moto Reckless 80, and that thing is amazing. I cut three holes in the rear rack for its straps and it worked perfectly. If you’re doing real adventure riding, I very highly recommend soft panniers over hard ones. The one upside of hard cases: you can pop them off and carry them into the hotel like briefcases.
I kept my tools in a tool tube that I won’t name, because it let in a significant amount of sand and moisture. The straps I used to hold everything down, on the other hand, were completely flawless.
What I’d still change
If I built it again, I’d add a center stand first. I got a flat on the rear tire and we had to lay the bike down to fix it. A center stand would’ve made that a lot more comfortable. I’d also add an Eagle Mike front fork brace to stiffen up the front end (I believe it can also lower the fender and carry another light or two), and I’d replace the stock exhaust. It weighs about ten pounds and it’s restrictive, so a new one should help a little with efficiency and power.
What’s on my KLR 650
The short version of everything in the video. Exact models and prices are in the spreadsheet on the TAT costs post.
- KC lights, two spot and two flood, on a KLR Dash
- Dunlop 606 tires
- Tusk crash bars and an aluminum skid plate
- Wider foot pegs
- Heavier rear spring for a big rider plus gear
- Bark Busters handguards
- Ram mounts for the phone and mirrors
- Wolfman fender bag carrying a spare tube
- Tank bag for the small stuff
- Mosko Moto Reckless 80 soft luggage (the Tusk hard panniers stayed home)
- Still on the wish list: center stand, taller windshield, fork brace, lighter exhaust
CONCLUSION
This KLR did exactly what I built it to do: it got me through the eastern Trans America Trail and home in one piece. If you’re building your own, start with the stuff that keeps you upright and comfortable (pegs, a spring that fits your weight, handguards, soft luggage) before you spend on anything shiny. Grab the full parts list from my TAT costs post, watch the walk-around above, and then go see the bike earn its keep in Virginia to North Carolina.
More from this adventure